
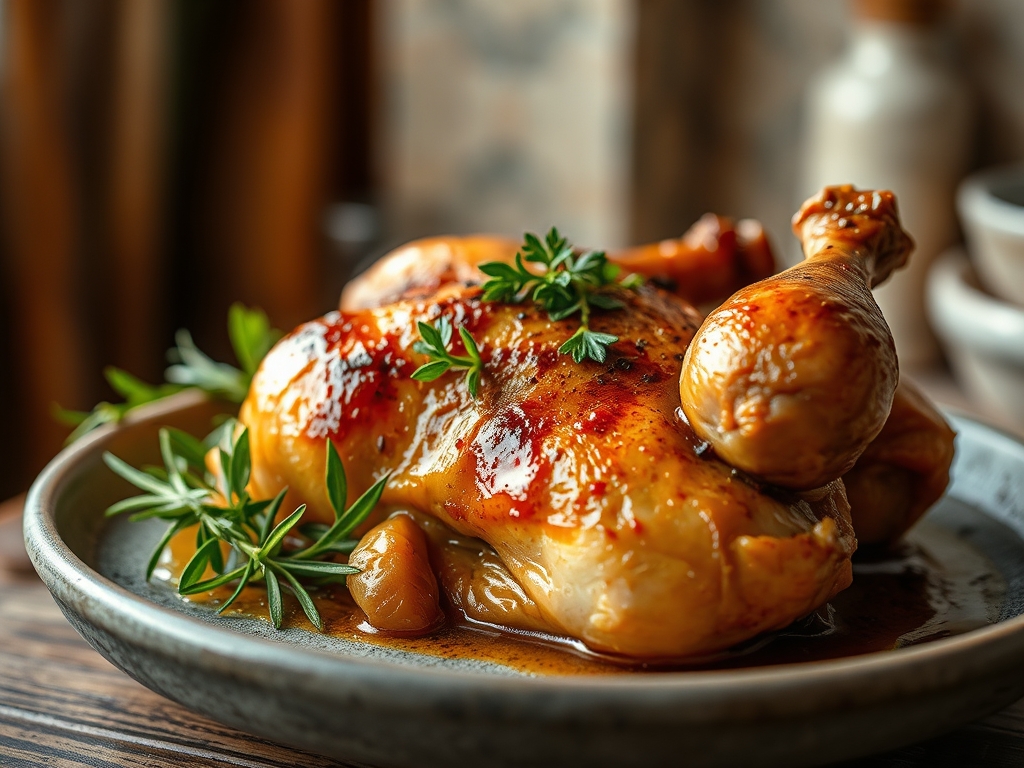
Picture the sound of a heavy cast iron lid sliding into place; it is a dull, metallic thud that promises a transformation. Inside that vessel, physics and flavor are about to collide. If you are hunting for the ultimate dutch oven roast chicken recipes, you have found the secret vault. We are trading soggy skin for a shattering, golden crust and dry breast meat for succulent, butter-soft results. This is not just cooking; it is an exercise in heat management and moisture control that turns a simple bird into a culinary masterpiece.
The Gathers:
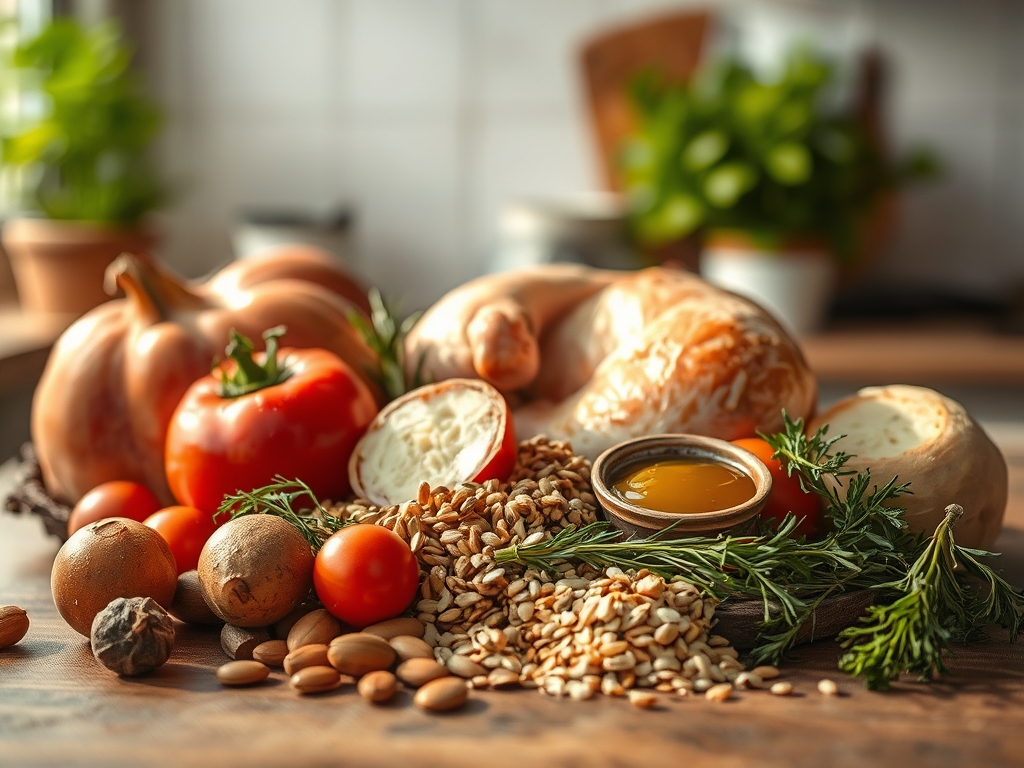
To achieve a professional result, your mise-en-place must be precise. Start with a four to five pound organic chicken. Ensure it is at room temperature to prevent thermal shock. You will need high-quality fats; specifically, unsalted European-style butter with a high butterfat content and cold-pressed olive oil. The aromatics are non-negotiable: a whole head of garlic sliced crosswise, fresh sprigs of woody herbs like rosemary and thyme, and thick-cut yellow onions to act as a natural roasting rack.
Gather your professional tools now. You will need a digital scale to measure your kosher salt precisely, as salinity levels vary between brands. A microplane is essential for zesting lemon directly over the bird to capture volatile oils. Keep a pair of heavy-duty tongs and a saucier nearby for the final pan sauce.
Smart Substitutions: If you lack fresh herbs, a high-quality poultry seasoning works, but you must bloom it in the fat first to release the fat-soluble compounds. No onions? Use thick slices of fennel or even halved lemons to elevate the bird off the bottom of the pot. This prevents the bottom from boiling in its own juices.
The Clock
Efficiency in the kitchen is about the Chef's Flow. This is the rhythm of preparing components so that nothing sits idle.
Prep Time: 20 Minutes. This includes the "air-dry" phase. Patting the skin dry with paper towels is the most critical step for the Maillard reaction. Use this time to sharpen your knives and prep your aromatics.
Cook Time: 75 to 90 Minutes. We begin with a high-heat blast to initiate browning, then transition to a steady, enclosed roast.
Resting Time: 15 to 20 Minutes. Do not skip this. This is when the muscle fibers relax and reabsorb the internal moisture. While the bird rests on a wooden board, use your bench scraper to clear your station and your saucier to reduce the pan drippings into a viscous jus.
The Masterclass
1. The Desiccation Ritual
Thoroughly dry the chicken inside and out. Use a digital scale to measure 1.5% of the bird's weight in kosher salt and rub it under the skin.
Pro Tip: This process utilizes osmosis. Initially, salt draws moisture out, but given enough time, the brine is reabsorbed into the meat, seasoning it deeply and breaking down tough proteins for a more tender bite.
2. Aerate the Skin
Carefully separate the skin from the breast meat using your fingers or a small silicone spatula. Insert herb-infused butter into these pockets.
Pro Tip: Creating this air pocket allows for convection within the bird itself. The fat renders directly onto the meat while the skin crisps from both sides, preventing the dreaded "steamed" texture found in lesser dutch oven roast chicken recipes.
3. The Searing Foundation
Heat your dutch oven on the stovetop over medium-high heat with a splash of high-smoke-point oil. Sear the chicken breast-side down for 3 to 5 minutes until golden.
Pro Tip: This is the Maillard reaction in its purest form. By browning the skin before it enters the oven, you develop complex flavor compounds that a standard roast cannot achieve.
4. Constructing the Trivet
Remove the bird briefly and toss in your onions, garlic, and lemons. Deglaze the bottom of the pot with a splash of dry white wine, using a wooden spoon to scrape up the fond.
Pro Tip: The fond (those brown bits on the bottom) contains concentrated umami. Deglazing incorporates these caramelized sugars back into the cooking environment, creating a piquant atmosphere for the chicken.
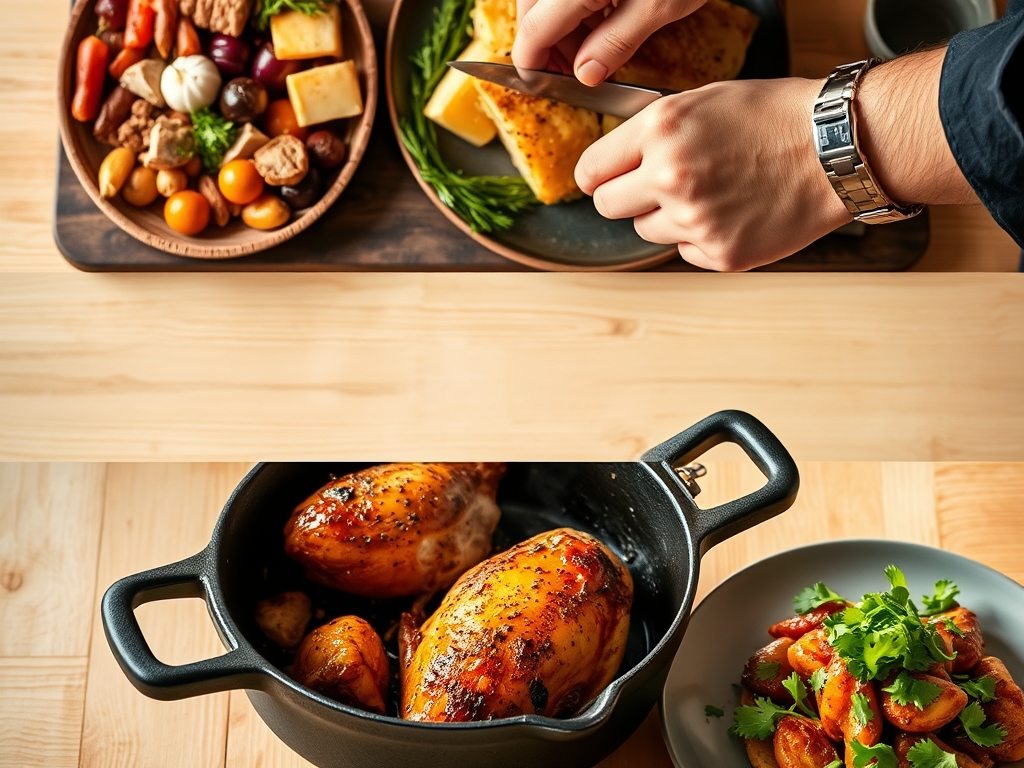
5. The Enclosed Roast
Place the chicken back on top of the aromatics, cover with the heavy lid, and slide it into a 375 degree oven.
Pro Tip: The heavy lid creates a micro-pressure environment. It traps steam, which helps cook the dark meat faster without drying out the delicate breast tissue.
6. The Final Unveiling
For the last 15 minutes of cooking, remove the lid and increase the temperature to 425 degrees.
Pro Tip: This stage focuses on evaporative cooling. Removing the lid allows the moisture to escape, letting the dry heat of the oven finish the crisping process on the skin.
7. Monitoring Internal Temps
Use a probe thermometer to check the thickest part of the thigh. You are looking for 160 degrees Fahrenheit.
Pro Tip: Thermal carryover is real. The internal temperature will rise by 5 to 10 degrees after you remove it from the heat. Pulling it at 160 ensures it hits the safety mark of 165 without becoming fibrous.
8. The Resting Phase
Transfer the bird to a warm platter. Do not tent it tightly with foil, as this will trap steam and soften that hard-earned crust.
Pro Tip: Resting allows the viscosity of the internal juices to increase as they cool slightly. This prevents the liquid from rushing out the moment you carve.
9. The Deglaze and Emulsification
Place the dutch oven back on the stove. Add a splash of chicken stock and whisk in a cold pat of butter to the remaining juices.
Pro Tip: This creates a stable emulsion. The cold butter binds with the fat and collagen in the pan drippings, resulting in a glossy, professional-grade sauce.
The Deep Dive
Macro Nutrition: A standard 6-ounce serving of roast chicken provides approximately 42 grams of protein and 15 grams of fat. By using the dutch oven method, you retain more natural minerals like phosphorus and selenium within the meat.
Dietary Swaps: For a Keto version, ensure your aromatics are low-carb (skip the carrots). For a Vegan alternative, this method works beautifully with a whole roasted cauliflower head, though you should reduce the cooking time by half. For Gluten-Free diners, ensure your chicken stock is certified and avoid using flour to thicken your pan sauce; use a cornstarch slurry or a long reduction instead.
The Fix-It:
- Soggy Skin: Your oven temperature was too low. Fix it by placing the bird under the broiler for 120 seconds.
- Dry Breast: You likely skipped the "resting" phase. Next time, use a probe thermometer to catch the carryover heat.
- Burnt Bottom: There was not enough liquid or aromatics acting as a buffer. Add a half-cup of stock halfway through next time.
Meal Prep: To maintain "day-one" quality, reheat slices in a heavy-bottomed skillet with a tablespoon of water and a lid. This creates a gentle steam that rehydrates the meat without overcooking it.
The Wrap-Up
Mastering dutch oven roast chicken recipes is a rite of passage for any serious home cook. It is the perfect marriage of rustic charm and scientific precision. When you pull that heavy pot out of the oven and see that shimmering, mahogany bird resting on a bed of melted aromatics, you will know you have leveled up. Grab your tongs, carve with confidence, and enjoy the most succulent chicken of your life.
The Kitchen Table
Can I cook a frozen chicken in a dutch oven?
No. Always thaw completely first. Cooking from frozen prevents the internal temperature from reaching safety zones quickly enough; it also ruins the texture, resulting in rubbery meat and soggy, pale skin.
Why is my chicken skin not crispy?
Moisture is the enemy of crispiness. If the skin is wet when it hits the heat, it steams instead of searing. Always pat the bird dry and use the "uncovered" phase at the end of roasting.
What size dutch oven do I need?
A 5.5-quart to 6-quart round dutch oven is the industry standard. It provides enough space for air circulation around a standard four-pound bird while still allowing the aromatics to create a concentrated flavor base.
Do I need to truss the chicken?
Trussing ensures even cooking by keeping the wings and legs tucked close to the body. This prevents the extremities from drying out before the thickest parts of the breast are safely cooked through.