
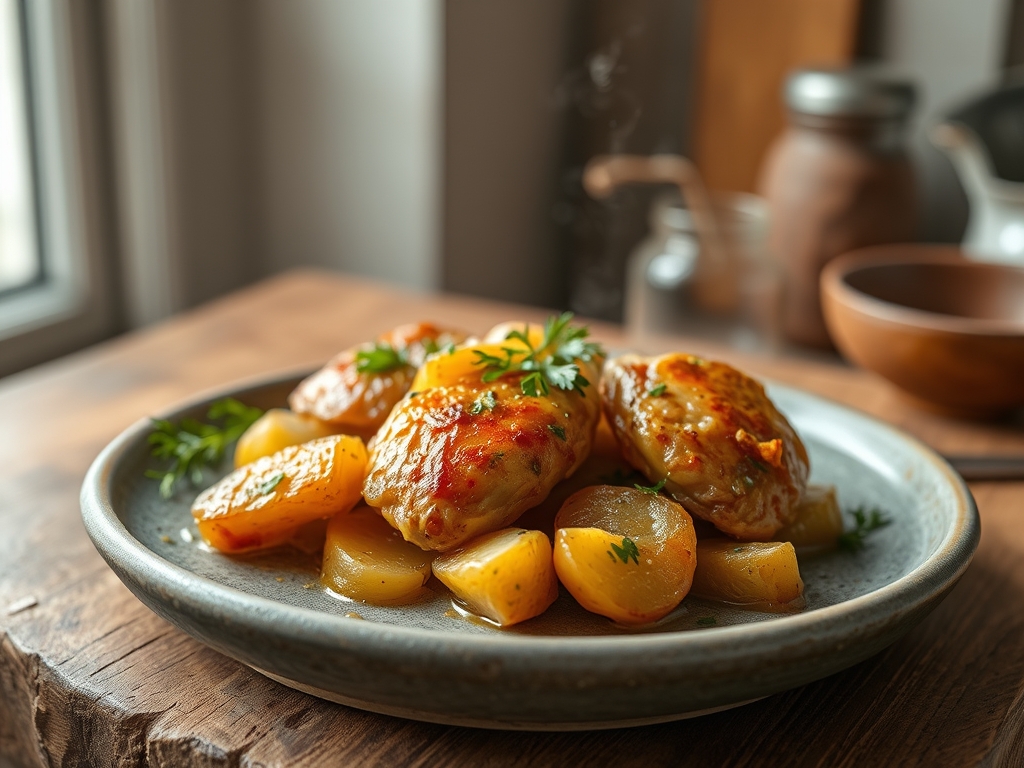
Imagine the scent of schmaltz rendering into a heavy-bottomed skillet; it is the olfactory equivalent of a warm hug. When you are craving comfort that actually delivers on flavor, the best chicken and potato recipes provide a masterclass in texture. We are talking about skin so crisp it shatters and tubers that have absorbed every drop of savory, golden fat.
The synergy between these two ingredients is not just culinary tradition; it is a chemical inevitability. Chicken provides the lean protein and collagen that transforms into a silky mouthfeel, while potatoes offer the starch necessary to thicken juices into a natural gravy. Whether you are roasting a whole bird over a bed of fingerlings or tossing thighs with Yukon Golds in a sheet pan, the goal is always the same: achieving that perfect Maillard reaction.
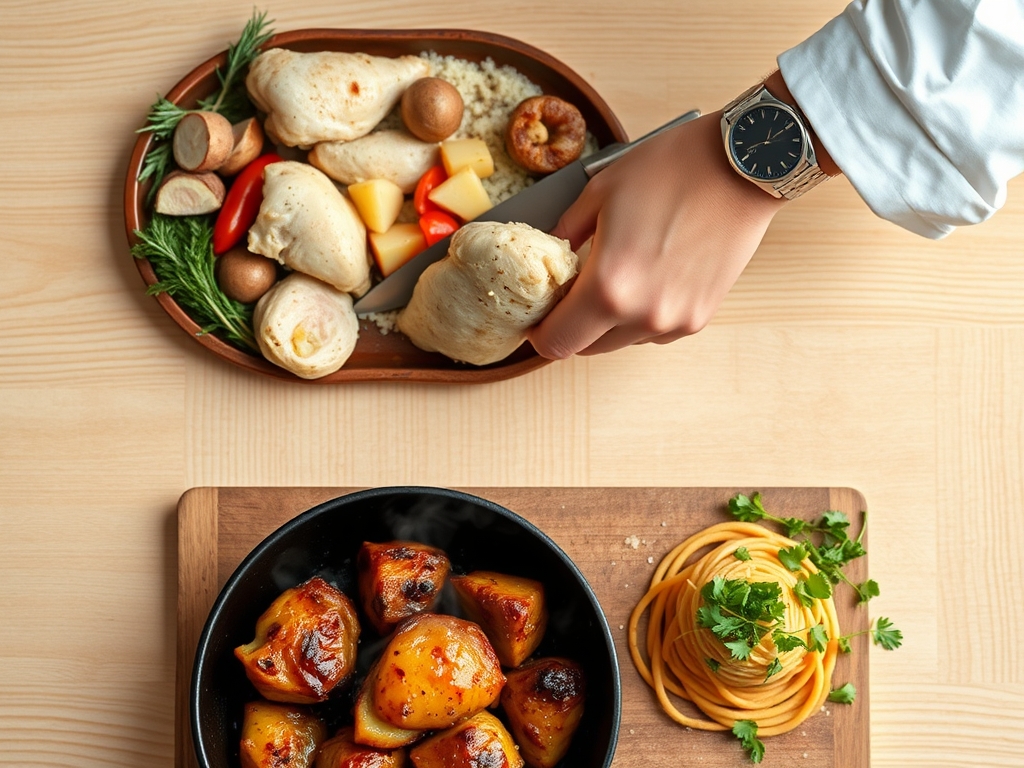
In this guide, we are moving beyond the basic "meat and potatoes" trope. We are exploring the science of heat transfer and the importance of moisture control to ensure your weeknight dinners rival any bistro. Grab your favorite apron and a sharp chef's knife. We are about to elevate your kitchen game with eight variations that prove why this pairing remains the undisputed champion of the dinner table.
The Gathers:
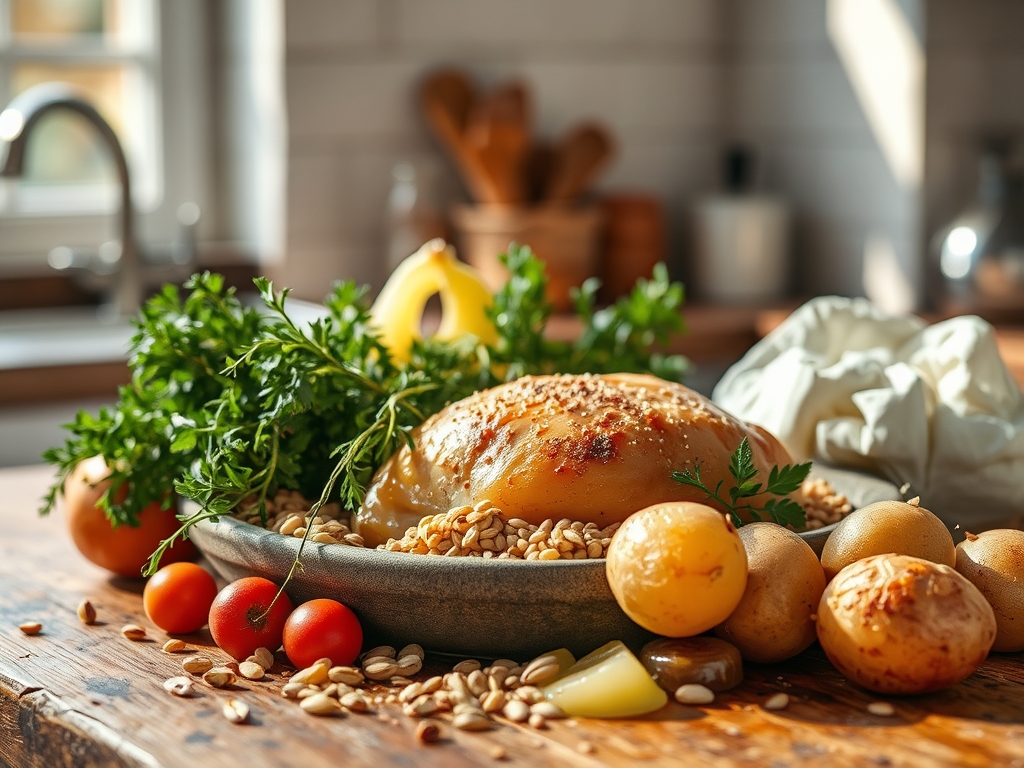
To execute the best chicken and potato recipes, your mise-en-place must be precise. Start with your protein. I recommend air-chilled chicken thighs; they have a higher fat content than breasts, which prevents drying during the high-heat roasting required for crispy potatoes. For the starch, reach for Yukon Golds. Their medium-starch content allows them to hold their shape while maintaining a creamy, almost buttery interior.
Your aromatic kit should include fresh rosemary and thyme. Do not use the dried stuff here; we want the volatile oils to infuse the fat. You will also need a high-smoke-point oil like avocado oil or clarified butter. Avoid extra virgin olive oil for the initial sear, as it will smoke and turn bitter at the temperatures needed to render the chicken skin. Use a microplane to zest a lemon for a piquant finish that cuts through the richness.
Smart Substitutions:
If you are out of Yukon Golds, Red Bliss potatoes work well for roasting because their waxy skin prevents them from falling apart. For a lower-glycemic option, swap half the potatoes for parsnips or celery root. If you need a dairy-free richness, a tablespoon of nutritional yeast added to the seasoning rub provides a savory, "cheesy" depth without the lactose. Always use a digital scale to measure your ingredients if you want consistent, professional results every single time.
The Clock
Efficiency in the kitchen is all about the "Chef's Flow." For these recipes, expect a total time of 45 to 60 minutes. Preparation takes roughly 15 minutes; this includes dicing potatoes into uniform one-inch cubes to ensure even cooking and patting the chicken bone-dry with paper towels. Moisture is the enemy of the sear.
The cooking phase is split into two parts. First is the active sear, taking 8 to 10 minutes on the stovetop in a heavy-bottomed skillet. This develops the base flavor. The second phase is the passive roast in the oven for 25 to 30 minutes. This allows the internal temperature of the chicken to reach a safe 165 degrees Fahrenheit while the potatoes undergo enzymatic browning. Use this passive time to clean your bench scraper and prep a side salad.
The Masterclass
1. The Prep and Dry Brine
Season your chicken liberally with kosher salt at least 30 minutes before cooking. Use your tongs to flip the pieces, ensuring total coverage.
Pro Tip: This process, known as dry brining, denatures the protein strands. This allows the meat to retain more moisture during the high-heat roasting process, resulting in a succulent interior.
2. The Starch Preparation
Cut your potatoes into uniform sizes and toss them in a bowl with oil, salt, and a pinch of baking soda.
Pro Tip: The baking soda creates an alkaline environment on the potato's surface. This breaks down the pectin, creating a starchy slurry that crisps up into an incredibly crunchy crust once it hits the hot pan.
3. The Initial Sear
Heat your skillet until the oil shimmers. Place the chicken skin-side down and do not move it for at least six minutes.
Pro Tip: This is the Maillard reaction in action. Moving the meat too early tears the skin and prevents the complex flavor compounds from developing. Wait for the meat to naturally release from the pan surface.
4. The Fond Integration
Once the chicken is seared, remove it and toss the potatoes into the rendered fat. Use a saucier or a wooden spoon to scrape the brown bits (the fond) from the bottom.
Pro Tip: The fond is concentrated flavor. By tossing the potatoes in it, you are ensuring every bite of starch is seasoned with the essence of the roasted chicken.
5. The Oven Transition
Arrange the chicken on top of the potatoes and move the skillet to a 425-degree oven.
Pro Tip: Placing the chicken on top allows the juices to drip down and infuse the potatoes while the hot air circulates around the chicken skin to keep it crisp.
6. The Rest and Carryover
Remove the pan from the oven and let the meat rest for five minutes before serving.
Pro Tip: This accounts for thermal carryover. The internal temperature will continue to rise by about five degrees. Resting also allows the muscle fibers to relax, redistributing the juices so they do not spill out on the plate.
The Deep Dive
From a nutritional standpoint, this pairing is a powerhouse. Chicken provides essential amino acids for muscle repair, while potatoes are a fantastic source of potassium and Vitamin C. To keep it lean, stick to skinless breasts and use a light spray of oil. If you are following a Keto lifestyle, replace the potatoes with cauliflower florets or radishes; they mimic the texture of potatoes when roasted in chicken fat. For a Vegan twist, use oyster mushrooms and "smashed" baby potatoes with a vegan butter substitute.
The Fix-It: Technical Solutions
If your potatoes are mushy, it is likely due to overcrowding the pan. Steam gets trapped between the pieces, preventing a crust. Fix this by using a larger sheet pan for better airflow. If the chicken is dry but the potatoes are hard, your heat was too low. Increase the temperature to 425 degrees Fahrenheit next time to speed up the starch transformation. If the skin is flabby, you likely didn't pat the chicken dry enough. Use a hair dryer on the "cool" setting for 60 seconds to get that skin parchment-dry before searing.
Meal Prep Science
To maintain "day-one" quality when reheating, avoid the microwave. The microwave agitates water molecules, making the potato skins rubbery. Instead, use an air fryer or a toaster oven at 350 degrees. This re-activates the fats and recrisps the exterior without overcooking the protein.
The Wrap-Up
Mastering the best chicken and potato recipes is like learning the secret language of the kitchen. It is about understanding how fat, heat, and starch interact to create something far greater than the sum of its parts. Once you nail the technique of the sear and the science of the roast, you can riff on these flavors endlessly. Add garlic, throw in some olives, or finish with a splash of heavy cream for a viscous sauce. The kitchen is your laboratory; go make something delicious!
The Kitchen Table
Why are my roasted potatoes always soft instead of crispy?
Soft potatoes usually result from excess moisture or overcrowding the pan. Ensure you pat the potatoes dry after cutting and use a large enough baking sheet so the pieces are not touching. This allows hot air to circulate and create a crust.
What is the best potato variety for roasting with chicken?
Yukon Gold potatoes are the gold standard. They possess a medium-starch content that provides a creamy interior while still holding their shape. Their thin skin also crisps up beautifully without the need for peeling, saving you prep time.
Can I cook chicken breasts and potatoes on the same tray?
Yes, but timing is key. Potatoes take longer to cook than lean breasts. Start the potatoes in the oven for 15 minutes first, then add the chicken. This ensures the chicken stays juicy while the potatoes finish softening and browning.
How do I tell if my chicken is perfectly cooked without a timer?
The most reliable method is using a digital meat thermometer. Chicken is safe and juicy at an internal temperature of 165 degrees Fahrenheit. You can also look for clear juices when the thickest part of the meat is pierced.