

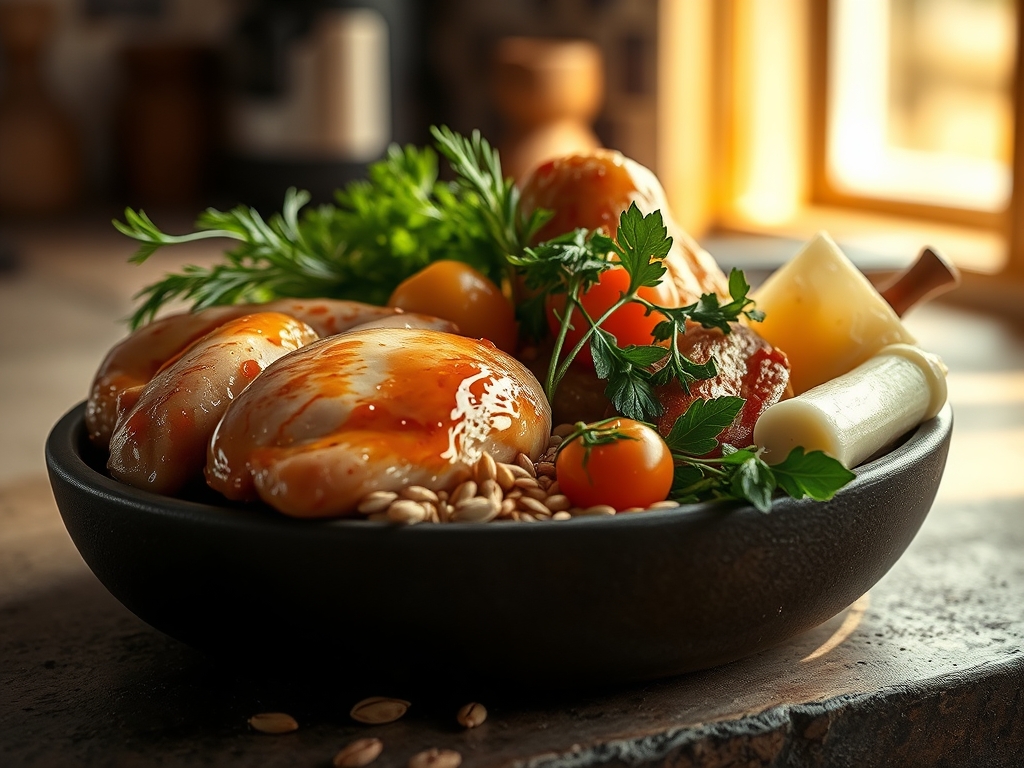
Picture the scene. Your heavy-bottomed skillet is humming with a low sizzle as the ambient temperature in your kitchen begins to climb. The air is thick with the scent of toasted garlic and the deep, floral sweetness of clover honey. When you are hunting for chicken recipes honey glazed perfection is the only acceptable outcome. You want that specific, glass-like sheen that shatters under your teeth to reveal meat so succulent it practically falls away from the bone. This is not just dinner; it is a masterclass in the delicate balance between sugar stability and protein denaturation. We are aiming for that addictive, piquant finish that makes your taste buds stand at attention. Forget the soggy, lackluster takeout of your past. Today, we are harnessing the power of the Maillard reaction to create a crust so golden it looks like it was painted by a Renaissance master.
The Gathers:
To achieve the ultimate result, your mise-en-place must be precise. Start with two pounds of boneless, skinless chicken thighs. Thighs are superior here because their higher fat content allows them to withstand the high heat required for glazing without drying out. You will need a high-quality, viscous honey; look for raw varieties which contain more natural enzymes and complex flavor profiles. For the acidic component, fresh lime juice is essential to cut through the sugar. Use a microplane to zest the lime first to capture those volatile aromatic oils.
You will also need low-sodium soy sauce to provide a savory umami backbone, freshly grated ginger for a spicy bite, and garlic cloves crushed into a paste. For the fat, use a neutral oil with a high smoke point like avocado or grapeseed oil. Smart Substitutions: If you are avoiding soy, coconut aminos offer a similar salty-sweet profile with less sodium. If honey is unavailable, maple syrup works, though it has a lower viscosity and will require a longer reduction time to reach the desired "nappe" consistency where it coats the back of a spoon.
The Clock
Efficiency in the kitchen is about the Chef's Flow, the rhythmic movement between tasks that ensures nothing is overcooked. Total preparation time is approximately 15 minutes, which includes your knife work and measuring. The actual cook time spans 20 minutes.
The flow begins with the "Cold Prep" phase where you whisk your glaze components in a small saucier. This allows the flavors to infuse while you handle the protein. The "Searing Phase" takes 8 to 10 minutes, followed by the "Glazing Phase" which requires your undivided attention for the final 5 minutes. Total elapsed time from counter to table is 35 minutes; a perfect window for a weeknight win that tastes like a weekend project.
The Masterclass
1. The Protein Prep
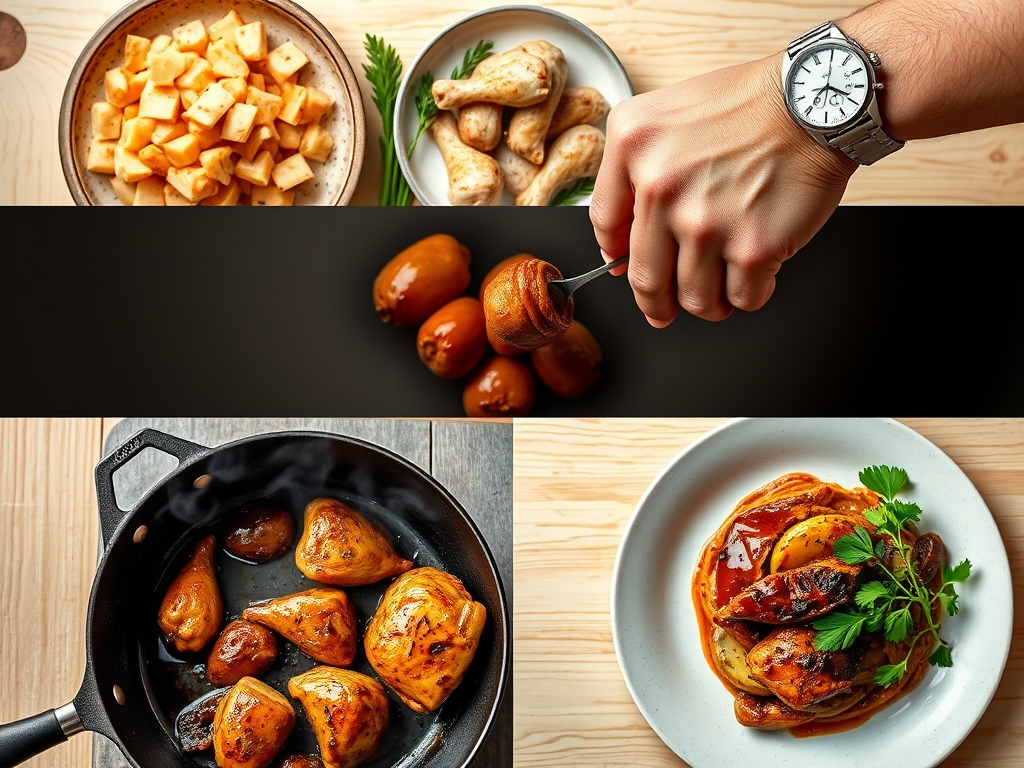
Pat the chicken dry with paper towels until the surface is completely moisture-free. Use a sharp chef's knife to trim any excessive connective tissue, then season liberally with kosher salt and cracked black pepper.
Pro Tip: This is known as surface dehydration. Removing external moisture is vital because any water present will turn to steam, preventing the Maillard reaction from occurring and leaving your chicken grey instead of golden.
2. The Initial Sear
Heat your heavy-bottomed skillet over medium-high heat. Add your high-smoke-point oil. Once the oil shimmers, use tongs to place the chicken in the pan, working in batches to avoid crowding.
Pro Tip: Crowding the pan drops the surface temperature of the metal instantly. This leads to thermal quenching, where the meat boils in its own juices rather than searing. Aim for at least an inch of space between each piece.
3. The Deglaze and Infuse
Once the chicken is browned on both sides, remove it temporarily. Pour off any excess rendered fat, then add your aromatics like garlic and ginger. Use a wooden spoon to scrape up the brown bits at the bottom of the pan.
Pro Tip: Those brown bits are called fond. They are concentrated pockets of caramelized protein and sugars that provide the foundational depth of flavor for your sauce through the process of deglazing.
4. The Reduction
Pour your honey and soy mixture into the skillet. Bring it to a vigorous simmer. The bubbles will start large and watery but will gradually become smaller and more uniform as the water evaporates.
Pro Tip: This is viscosity management. As the water content decreases, the sugar concentration increases, creating a syrup that can effectively cling to the protein fibers.
5. The Final Glaze
Return the chicken to the pan. Use a spoon to continuously baste the meat with the thickening sauce. Flip the pieces every 30 seconds until the sauce reaches a dark, amber hue and a sticky texture.
Pro Tip: Watch for caramelization, which occurs at 320 degrees Fahrenheit. The honey will transform from simple sweetness to a complex, toasted flavor profile. Be careful not to cross into carbonization, which tastes bitter.
The Deep Dive
From a nutritional standpoint, this dish is a powerhouse of lean protein. A standard serving contains approximately 340 calories, 32 grams of protein, and 14 grams of carbohydrates, mostly from the natural sugars in the honey. To make this Keto-friendly, swap the honey for a monk-fruit-based syrup and use liquid aminos. For a Vegan version, substitute the chicken with extra-firm pressed tofu or cauliflower florets and use agave nectar.
The Fix-It: Common Pitfalls
If your sauce is too thin, create a small slurry of cornstarch and cold water to whisk in; this provides instant body. If the garlic tastes bitter, you likely added it too early and scorched it; next time, add it only when the pan has been deglazed. If the chicken is tough, you likely skipped the resting phase. Let the meat sit for five minutes after cooking to allow for thermal carryover, which lets the muscle fibers relax and reabsorb juices.
For Meal Prep, store the chicken and sauce separately if possible. To reheat and maintain "day-one" quality, avoid the microwave. Instead, use a small skillet with a splash of water or chicken stock. Cover the pan to create steam, which re-hydrates the glaze and gently warms the protein without toughening the exterior.
The Wrap-Up
Mastering chicken recipes honey glazed style is a rite of passage for any home cook looking to elevate their weekday repertoire. It is a dish that proves how simple chemistry can transform humble ingredients into a restaurant-quality experience. By controlling your heat and respecting the reduction process, you create a meal that is as visually stunning as it is delicious. Now, grab your tongs and get to that stove; your perfectly glazed future is waiting.
The Kitchen Table
How do I prevent the honey from burning?
Keep your heat at medium-high and never leave the pan unattended. If the sauce darkens too quickly, add a tablespoon of water or citrus juice to lower the temperature and slow the caramelization process instantly.
Can I use chicken breasts instead of thighs?
Yes, but be cautious. Breasts lack the intramuscular fat of thighs and dry out quickly. Reduce the initial searing time and ensure the internal temperature reaches exactly 165 degrees Fahrenheit using a digital meat thermometer.
Why is my glaze sliding off the chicken?
This usually happens if the chicken was still wet before searing or if the sauce hasn't reduced enough. Ensure the meat is patted dry and the sauce has reached a thick, syrupy "nappe" consistency before tossing.
What are the best side dishes for this?
Balance the sweetness with something bright or neutral. Steamed jasmine rice or quinoa excels at absorbing extra glaze; meanwhile, charred broccoli or a crisp cucumber salad provides a necessary textural contrast and acidic balance.