
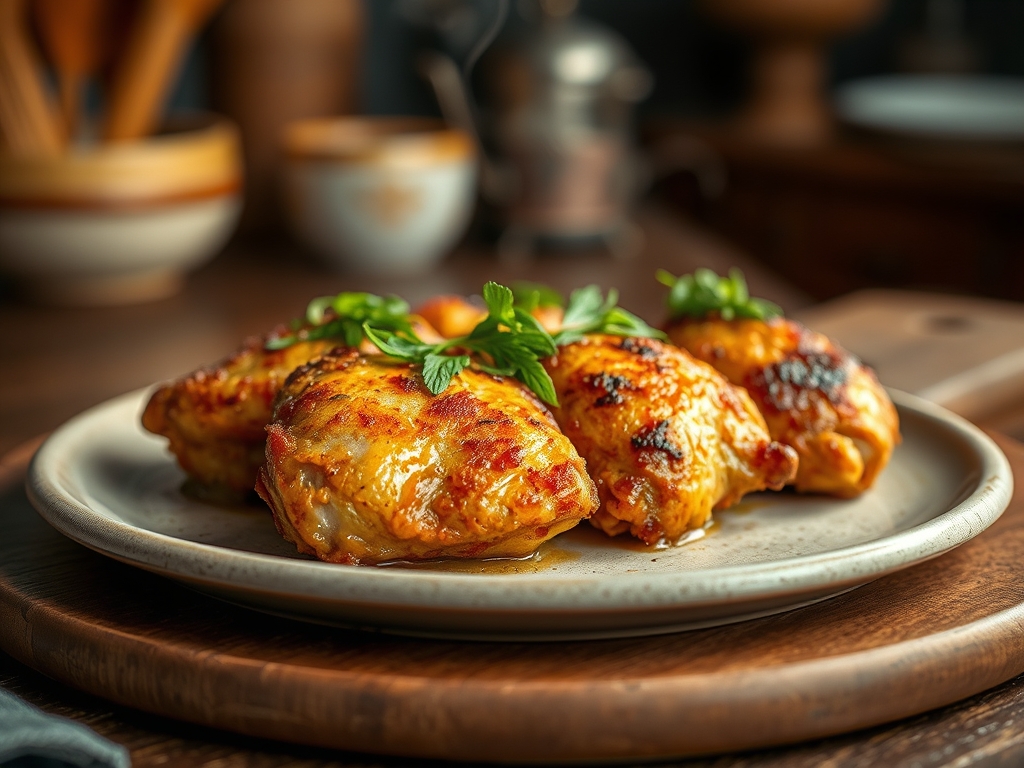
Listen to that sound. It is the distinct, rhythmic crackle of a golden crust yielding to a sharp knife; a sound that promises a juicy interior and a shattered exterior. Achieving the perfect crunch without a deep fryer is the holy grail of weeknight cooking. When you master crispy baked chicken recipes, you are not just cooking dinner; you are manipulating moisture and protein through pure chemistry.
Most home cooks struggle with soggy skin or dry meat because they treat the oven like a magic box rather than a convection chamber. We are going to change that. By the time we are finished, you will understand how to manage surface pH and thermal transfer to get that "fried" sensation using nothing but your oven and a few smart techniques. Whether you are using panko, cornflakes, or just the skin itself, the goal remains the same: total moisture evacuation from the surface. Let us get into the kitchen and turn up the heat.
The Gathers:
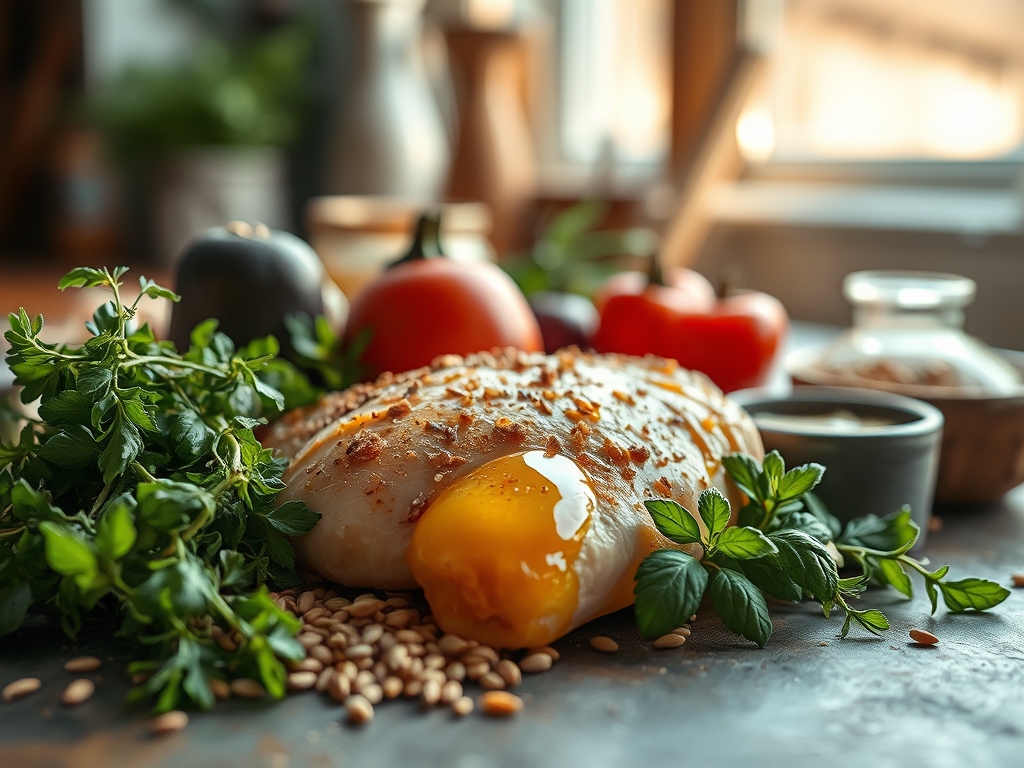
Your mise-en-place is the foundation of structural integrity. Start with high-quality poultry; look for air-chilled chicken, as it has a lower water content than bird processed with liquid cooling. You will need a digital scale for precision and a microplane to zest aromatics into your breading.
The dry components are your textural architects. Panko breadcrumbs are superior because their large surface area allows for more oil contact. If you are going for a flour-based dredge, include cornstarch or potato starch. These starches lack gluten, meaning they do not get chewy when hydrated; instead, they fry up into a brittle, glass-like coating. For the fat, choose something with a high smoke point like avocado oil or clarified butter.
Smart Substitutions:
If you are out of eggs for the binder, use a viscous layer of Dijon mustard or Greek yogurt. The acidity in these substitutes helps tenderize the meat while providing enough "tack" for your crumbs to adhere. For a piquant kick, swap regular salt for smoked Maldon sea salt or add a dash of MSG to amplify the savory profile.
The Clock
Efficiency in the kitchen is about "Chef's Flow," which is the art of overlapping tasks to eliminate dead time. Expect 15 minutes for active prep and 25 to 35 minutes for roasting, depending on the cut.
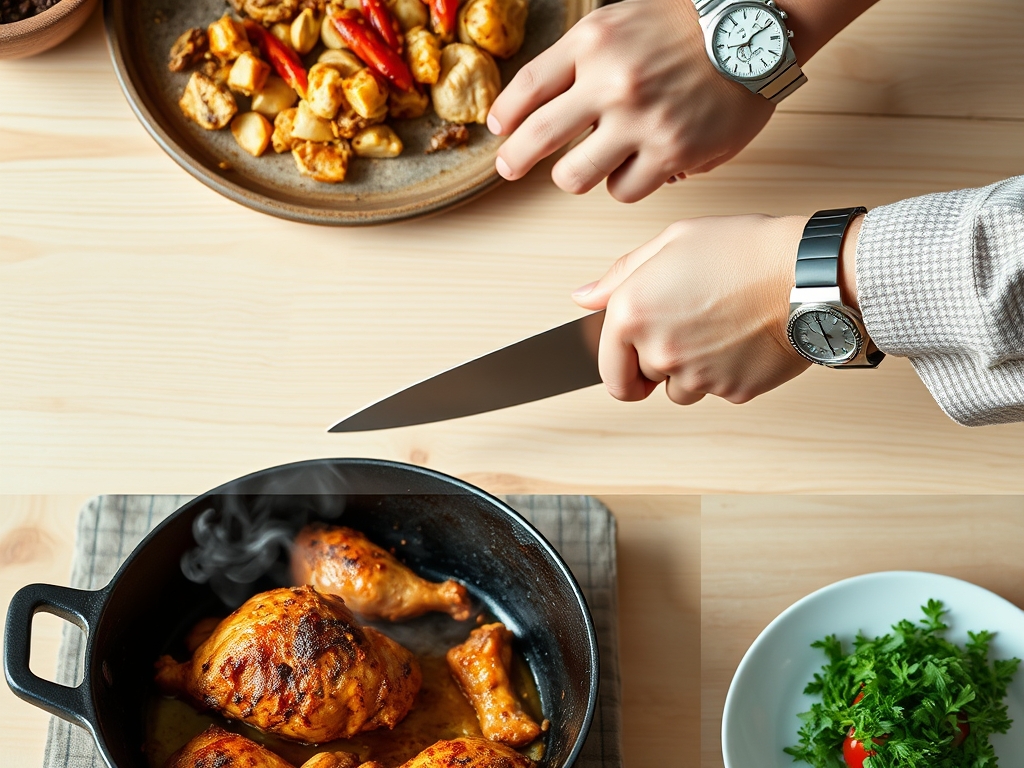
Start by preheating your oven to 425 degrees Fahrenheit immediately. This high-heat environment is non-negotiable for rendering fat quickly. While the oven stabilizes, pat your chicken dry with paper towels. This is the most critical five minutes of the entire process. If the surface is damp, the oven's energy will be wasted evaporating that water rather than browning the protein. While the chicken roasts, use your bench scraper to clean your station and prepare a bright, acidic side dish to cut through the richness of the crust.
The Masterclass
1. The Desiccation Ritual
Place your chicken on a clean surface and use a heavy-duty paper towel to remove every trace of surface moisture. If you have time, let the chicken sit uncovered in the refrigerator for two hours to air-dry the skin.
Pro Tip: This step facilitates the Maillard reaction, a chemical reaction between amino acids and reducing sugars. Water is the enemy of browning; it caps the surface temperature at 212 degrees Fahrenheit, whereas browning requires temperatures above 300 degrees.
2. The Aerated Dredge
Whisk your dry ingredients in a shallow bowl. If using panko, toss them with a tablespoon of oil first. This ensures every crumb is coated in fat before it even hits the oven, leading to an even, golden finish.
Pro Tip: Pre-toasting or pre-oiling your crumbs prevents "white spots." Since the oven provides indirect heat, the fat acts as a thermal conductor, ensuring the heat is distributed evenly across the irregular geometry of the breadcrumbs.
3. The Elevated Roast
Set a wire cooling rack inside a rimmed baking sheet. Place the breaded chicken on the rack rather than directly on the pan. This allows hot air to circulate 360 degrees around the meat.
Pro Tip: This setup prevents "soggy bottom syndrome." By elevating the meat, you allow rendered fat to drip away while promoting convection, which dries out the underside of the chicken simultaneously with the top.
4. The High-Heat Blast
Slide the tray into the center of the oven. If your oven has a convection setting, use it. The fan will move the air rapidly, stripping away the "cold air envelope" that naturally surrounds cold food.
Pro Tip: Rapid air movement increases the rate of evaporative cooling on the surface, which sounds counterintuitive, but it actually helps create a thicker, crunchier crust by removing moisture faster than the interior can release it.
5. The Internal Check
Use a digital probe thermometer to pull the chicken when it hits 160 degrees Fahrenheit for breasts or 170 degrees for thighs. Never rely on "clear juices" as a metric for doneness.
Pro Tip: This accounts for thermal carryover. The internal temperature will continue to rise by 5 degrees after you remove it from the oven. Overcooking leads to protein fibers tightening and squeezing out moisture, making the meat dry.
6. The Mandatory Rest
Transfer the chicken to a clean board using tongs. Let it rest for at least five minutes before slicing. This allows the internal pressure to equalize.
Pro Tip: Resting allows the muscle fibers to reabsorb the juices. If you cut it too soon, the steam will escape and soften your perfectly crispy crust from the inside out, ruining your hard work.
7. The Finishing Infusion
Just before serving, use a saucier to warm a bit of honey or herb-infused oil and drizzle it lightly over the top. Add a final pinch of flaky salt for texture.
Pro Tip: Adding salt at the very end ensures the crystals remain intact and provide a physical "crunch" on the tongue, rather than dissolving into the crust during the high-heat roasting process.
The Deep Dive
From a macro perspective, baked chicken is a protein powerhouse. A standard 6-ounce serving provides roughly 40 grams of protein. By baking instead of frying, you reduce the caloric density by nearly 30 percent while maintaining the sensory satisfaction of a fried meal.
Dietary Swaps:
For a Keto-friendly version, replace breadcrumbs with crushed pork rinds or almond flour mixed with parmesan cheese. For a Vegan "chicken" alternative, use extra-firm tofu that has been pressed for 30 minutes, then follow the same dredging process. Gluten-free cooks should reach for crushed rice cereal or specialized GF panko to maintain that essential snap.
The Fix-It:
If your chicken is pale, move the tray to the top rack for the last three minutes; the proximity to the heating element will trigger browning. If the crust is falling off, you likely skipped the "pat dry" step or used too much binder. If the meat is tough, you likely bypassed the resting period.
Meal Prep Science:
To reheat and maintain "day-one" quality, avoid the microwave. The microwave agitates water molecules, causing them to steam the crust from within. Instead, use an air fryer or a toaster oven at 350 degrees for five minutes to re-crisp the exterior fats.
The Wrap-Up
Mastering crispy baked chicken recipes is about respecting the physics of heat and the chemistry of moisture. By focusing on desiccation, elevation, and precise thermal monitoring, you can produce a meal that rivals any restaurant fryer. Remember: dry the skin, elevate the bird, and trust your thermometer. Now, grab your tongs and get to work; your crispier, tastier future is only 30 minutes away!
The Kitchen Table
Why is my baked chicken not crispy?
The primary culprit is surface moisture. If the chicken is damp when it enters the oven, it steams instead of roasts. Always pat the meat thoroughly dry with paper towels and use a wire rack to ensure airflow underneath.
Can I use flour instead of breadcrumbs?
Yes, but for maximum crunch, mix the flour with cornstarch. This prevents gluten development and creates a thinner, crispier shell. Ensure you spray the floured surface with a light coating of oil to facilitate browning in the oven's dry heat.
What temperature is best for crispy chicken?
A high temperature of 425 degrees Fahrenheit is ideal. This intense heat renders the fat quickly and sets the crust before the interior has a chance to overcook. Lower temperatures often result in a "leathery" skin rather than a crisp one.
Do I need to flip the chicken while baking?
If you are using a wire cooling rack, flipping is unnecessary because the air circulates entirely around the meat. However, if you are baking directly on a sheet pan, flip the chicken halfway through to prevent the bottom from becoming soggy.