
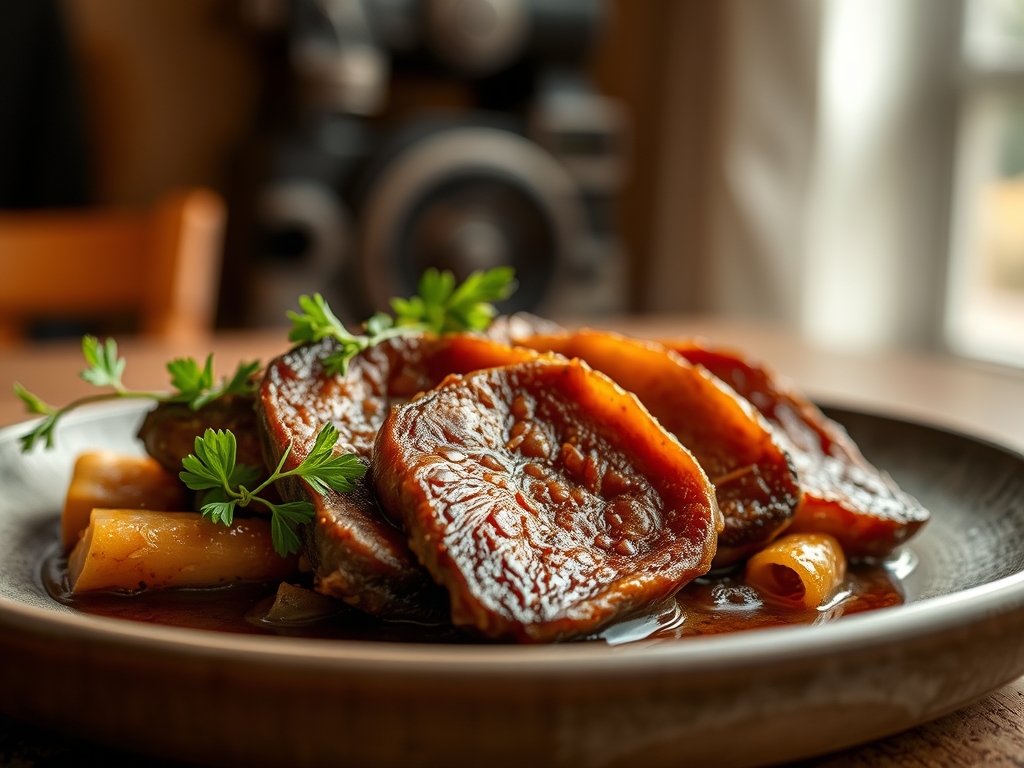
Imagine the first bite of a steak that feels less like meat and more like a velvet luxury. That incredible, jaw-dropping tenderness does not happen by accident; it happens in a salt bath. When you explore brining beef recipes, you are not just seasoning food; you are conducting a high-stakes chemical experiment in your own kitchen. Most home cooks associate brining exclusively with dry holiday turkeys, but applying this logic to beef is the ultimate secret weapon for transforming lean cuts into buttery masterpieces.
The process is a beautiful dance of osmosis and diffusion. By submerging your beef in a calculated saline solution, you are forcing water and flavor molecules into the cellular structure of the muscle fibers. This increases the weight of the meat by nearly ten percent before it even hits the heat. As the protein strands denature and relax, they trap moisture, ensuring that even if you accidentally leave that sirloin on the grill for an extra sixty seconds, it remains succulent. It is the difference between a chewy chore and a melt-in-your-mouth experience that will have your friends begging for your secret.
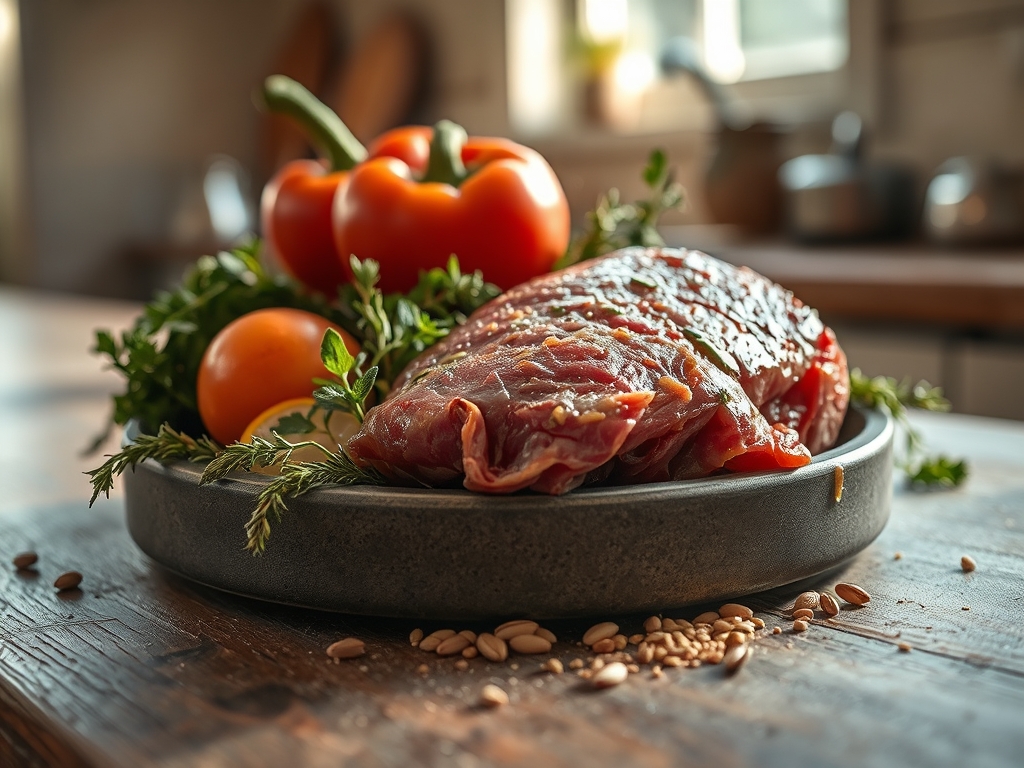
The Gathers:
To master these brining beef recipes, your mise-en-place must be precise. Start with a digital scale to measure your salt; volume measurements for kosher salt versus table salt vary wildly and can ruin your salinity balance. You will need high-quality sea salt or Diamond Crystal kosher salt, which dissolves quickly without a metallic aftertaste. For the liquid base, think beyond water. Use a saucier to gently warm a mixture of beef stock, toasted black peppercorns, smashed garlic cloves, and fresh rosemary sprigs. This allows the essential oils to infuse into the liquid, creating a viscous, aromatic concentrated base.
Smart Substitutions are your best friend here. If you are out of fresh aromatics, a tablespoon of whole coriander seeds or star anise adds a piquant depth. Instead of white sugar, which provides the fuel for the Maillard reaction, try molasses or dark brown sugar for a deeper, caramel-like complexity. If you are watching your sodium, you can substitute a portion of the salt with coconut aminos or high-quality soy sauce, which adds a massive hit of umami through natural glutamates. Always keep a bench scraper handy to clear your station; a clean workspace is the mark of a disciplined chef.
The Clock
Efficiency in the kitchen is all about the "Chef's Flow." For a standard two-pound roast, your active prep time is a mere fifteen minutes. However, the passive time is where the magic happens. A "Quick Brine" for individual steaks takes about two to four hours, while a "Deep Brine" for larger roasts like a brisket or tri-tip requires twelve to twenty-four hours.
The flow works like this: prepare your brine in the morning, let it cool completely (never put warm brine on raw meat), and submerge your beef before you head to work. By dinner time, the salt has penetrated to the core. Remember to allow for thirty minutes of "tempering" time after you remove the beef from the liquid. This allows the internal temperature to rise slightly, ensuring an even cook when the meat meets the heavy-bottomed skillet.
The Masterclass
1. Calculate Your Salinity
The gold standard for a wet brine is a five percent solution. Use your digital scale to weigh your water and add five grams of salt for every one hundred grams of liquid. This precision prevents the meat from becoming overly salty while ensuring maximum moisture retention.
Pro Tip: This specific ratio triggers protein denaturation, where the tightly wound muscle fibers begin to unwind and swell, creating more space for water molecules to hide.
2. Infuse the Aromatics
Never throw cold spices into cold water. Toast your peppercorns and bay leaves in a dry saucier until fragrant, then add your liquid. Bring it to a simmer to render the flavors into the brine, then chill it to forty degrees Fahrenheit before use.
Pro Tip: Heat increases the solubility of the salt and extracts fat-soluble flavor compounds from spices that would otherwise remain trapped and tasteless.
3. Submerge and Weight
Place your beef in a non-reactive container. If the meat floats, it will cure unevenly. Use a heavy ceramic plate to keep the beef fully submerged in the viscous liquid, ensuring every square inch is in contact with the brine.
Pro Tip: Exposure to air during the brining process can lead to oxidation, which alters the color and flavor profile of the exterior fat cap.
4. The Thorough Pat-Dry
This is the most skipped step, and it is the most vital. After removing the beef, use paper towels to dry the surface until it is bone-dry. A wet steak will steam rather than sear, ruining your crust.
Pro Tip: Moisture is the enemy of the Maillard reaction. By removing surface water, you allow the heat to immediately begin browning the proteins instead of wasting energy evaporating surface liquid.
5. Tempering the Meat
Let the beef sit at room temperature for thirty to sixty minutes before cooking. This prevents the "cold core" phenomenon where the outside overcooks while the inside remains raw.
Pro Tip: This reduces thermal shock, allowing for a more uniform heat distribution and preventing the muscle fibers from seizing up and squeezing out the brine you just worked so hard to put in.
6. The High-Heat Sear
Use a heavy-bottomed skillet, preferably cast iron, and get it ripping hot. Use tongs to press the beef into the pan, ensuring maximum surface contact for a deep, mahogany crust.
Pro Tip: Brined meat browns faster because the sugar and broken-down proteins on the surface accelerate enzymatic browning at lower temperatures than unbrined meat.
7. Deglaze for the Sauce
Once the meat is removed, do not wash that pan. Use wine or stock to deglaze the brown bits (the fond) from the bottom of the skillet. Whisk in a knob of butter to create a silky pan sauce.
Pro Tip: The fond contains concentrated salt and umami from the brine, providing a built-in flavor base that requires almost no additional seasoning.
8. Use a Meat Thermometer
Brined beef can look cooked before it actually is. Use a digital probe to check the internal temperature. Pull the meat five degrees before your target temperature to account for thermal carryover.
Pro Tip: Carryover cooking happens because the exterior of the meat is hotter than the interior; that residual heat continues to move inward even after the beef is off the flame.
9. The Mandatory Rest
Place your beef on a wire rack for at least ten minutes. If you cut it immediately, the internal pressure will force all that beautiful juice onto the cutting board.
Pro Tip: Resting allows the internal pressure to stabilize and the liquid to reabsorb into the protein matrix, ensuring a clean cut and a juicy bite.
10. Slice Against the Grain
Look for the direction of the muscle fibers and cut perpendicular to them. This shortens the fibers, making the meat even easier to chew.
Pro Tip: Even the best brine can be undermined by poor knife skills; cutting against the grain provides the final mechanical assist to the chemical tenderization of the brine.
The Deep Dive
From a Macro Nutrition perspective, brining is a win. It adds zero fat and negligible calories while significantly improving the texture of lean, high-protein cuts like flank or round steak. If you are following a Keto or Paleo lifestyle, simply omit the sugar in the brine; the salt alone will still perform the structural work. For a Vegan alternative, this same brining technique works wonders on thick slabs of cauliflower or "steaks" made from lion's mane mushrooms, though the brining time should be cut to thirty minutes.
"The Fix-It" guide for common pitfalls:
- Too Salty: If you over-brined, soak the meat in plain cold water for twenty minutes to "reverse-osmose" some of the salt out.
- Gray Meat: This happens if your brine was too acidic (too much vinegar or citrus). Balance your next batch with more water and less acid.
- No Crust: This means the meat was too wet. Next time, let the beef air-dry uncovered in the fridge for two hours after brining.
For Meal Prep, brined beef is a dream. Because it retains more moisture, it does not dry out during reheating. To maintain "day-one" quality, reheat your beef in a covered dish with a splash of water or broth at a low temperature (250F) to gently aerate the steam around the meat without overcooking the center.
The Wrap-Up
Mastering brining beef recipes is the ultimate glow-up for your culinary repertoire. It takes a bit of foresight and a dash of chemistry, but the payoff is a professional-grade meal that tastes like it came from a high-end steakhouse. You have the tools, you have the science, and now you have the confidence to turn a humble grocery store cut into a masterpiece. Get that saucier bubbling and let the osmosis begin!
The Kitchen Table
How long should I brine a thick ribeye?
For a one-and-a-half-inch steak, brine for at least two hours but no more than four. Over-brining small cuts can lead to a "cured" or ham-like texture that ruins the natural beefy flavor profile.
Can I reuse my beef brine?
Never reuse brine that has touched raw meat. The liquid is contaminated with bacteria and diluted by the meat's juices. Always discard the used brine and start fresh for your next culinary masterpiece to ensure food safety.
What is the best salt for brining?
Kosher salt is the industry standard because its large flakes dissolve easily and it lacks the bitter iodine found in table salt. Always measure by weight using a digital scale for the most consistent, professional results every time.
Do I need to rinse the beef after brining?
Rinsing is generally unnecessary and can spread bacteria in your sink. Instead, use heavy-duty paper towels to pat the meat thoroughly dry. This ensures a superior sear and prevents the meat from steaming in the pan.