
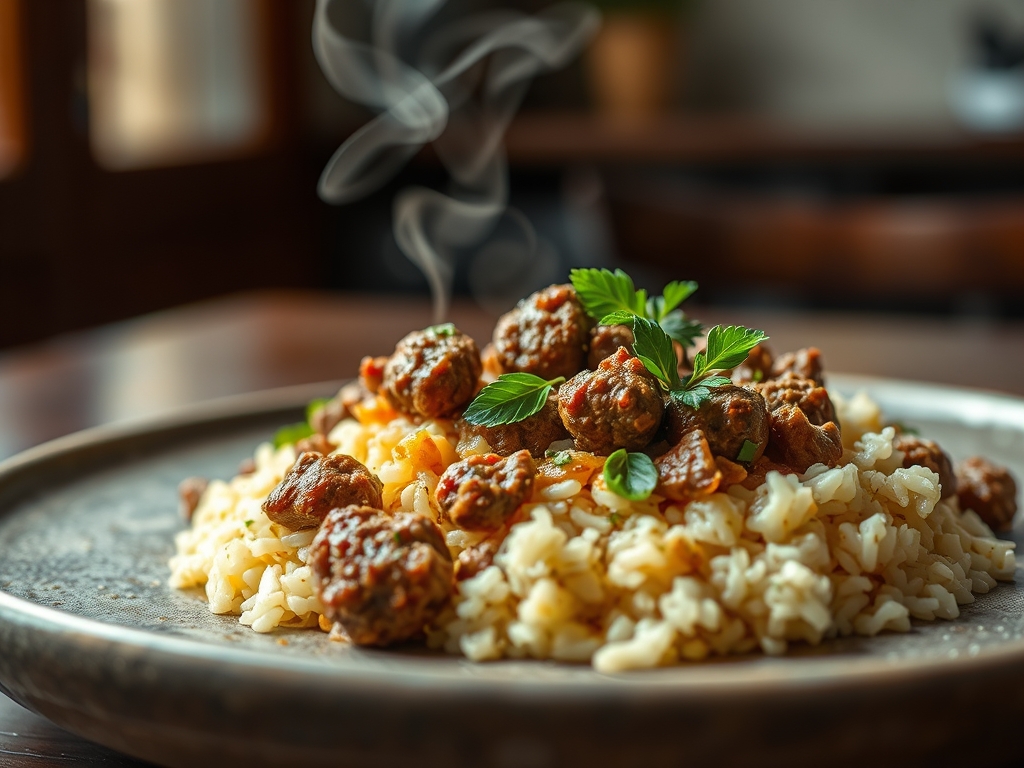
Picture the sizzle of a heavy bottomed skillet as cold protein meets a searing surface; that sound is the overture to a weeknight masterpiece. When you are hunting for ingredient ground beef recipes with rice, you are looking for the perfect intersection of pantry staples and culinary chemistry. This combination is a nutritional powerhouse that provides essential amino acids and complex carbohydrates in one pan.
The beauty of this duo lies in the Maillard reaction. This is the chemical process where heat transforms amino acids and sugars into hundreds of different flavor compounds. By mastering a few foundational techniques, you can pivot from a zesty Korean beef bowl to a savory Mediterranean stuffed pepper filling without breaking a sweat. We are moving past the era of bland, gray meat. Instead, we are focusing on rendering fat properly and building layers of flavor that make a simple budget meal taste like a high end bistro plate. Grab your favorite wooden spoon and let us dive into the alchemy of the kitchen.
The Gathers:
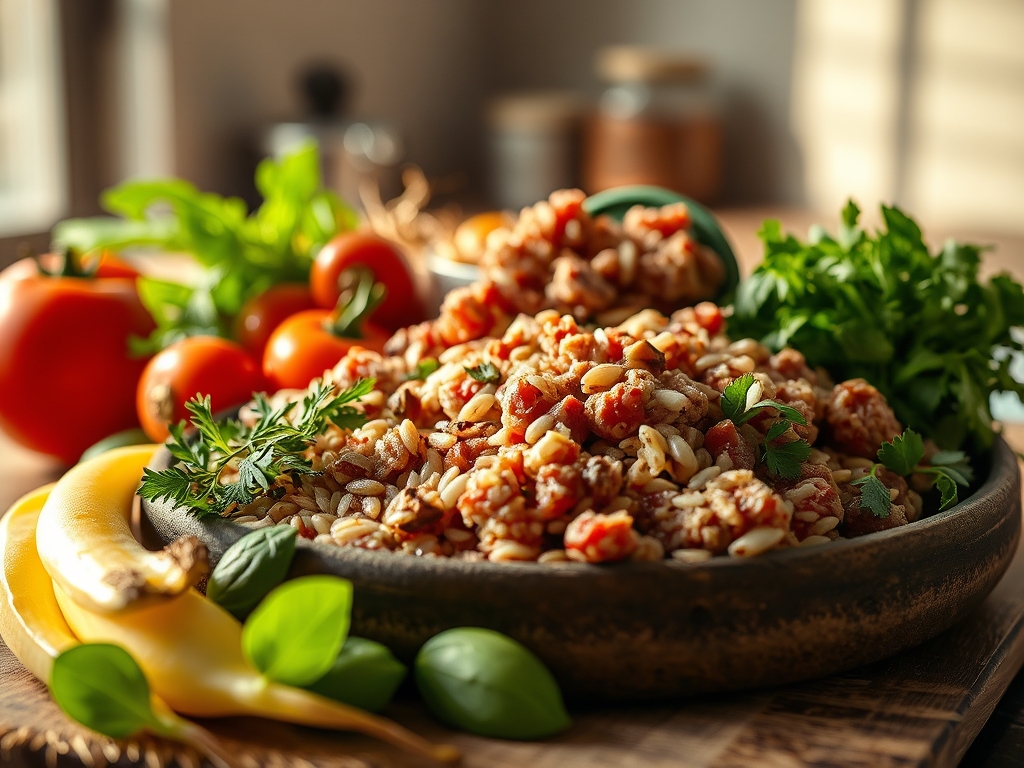
Before we ignite the burner, we must respect the mise en place. High quality ground beef, preferably an 80/20 blend, provides the necessary lipids to carry flavor. For the rice, long grain varieties like Basmati or Jasmine offer a distinct, non sticky texture due to their high amylose content. You will also need aromatics: yellow onions for their high sugar content, garlic for piquant depth, and ginger for a bright, enzymatic kick.
Smart Substitutions:
If you are looking to lighten the profile, ground turkey or chicken can be substituted, though you must add a teaspoon of neutral oil to compensate for the lower fat content. For the grains, farro or quinoa provide a nuttier profile and increased fiber, though they require different hydration ratios. If you lack fresh aromatics, high quality powders can work, but remember that dried spices are more concentrated; use a 1:3 ratio of dried to fresh. Always have a bottle of low sodium soy sauce or liquid aminos on hand to deglaze the pan and incorporate umami.
The Clock:
Efficiency in the kitchen is about "Chef's Flow," the art of overlapping tasks to minimize downtime. The total active time for these pairings is roughly 15 minutes, with a 20 minute simmer window. Start by rinsing your rice in a fine mesh strainer to remove excess surface starch; this prevents the grains from becoming gummy. While the rice hydrates in the pot, begin your knife work.
Use a sharp chef's knife to dice your aromatics into uniform pieces to ensure even caramelization. By the time your skillet is hot and the beef is browning, the rice should be at a rolling boil. Transitioning from high heat searing to low heat simmering allows the protein to rest while the grains absorb the seasoned liquid. This synchronized timing ensures that both components reach their peak temperature and texture simultaneously.
The Masterclass:

1. The Sear and Render
Place your ground beef in a preheated cast iron skillet. Do not crowd the pan; this leads to steaming rather than browning. Use a stiff spatula to break the meat into small crumbles.
Pro Tip: This is the science of pyrolysis. By letting the meat sit undisturbed for three minutes, you create a deeply flavored crust. Moving it too early prevents the surface temperature from rising high enough to trigger the Maillard reaction.
2. Aromatic Infusion
Once the meat is 70 percent browned, push it to the edges and drop your onions and garlic into the center. The rendered beef fat acts as a medium for fat soluble flavor extraction, pulling the essential oils out of the vegetables.
Pro Tip: Add a pinch of salt now. Salt draws out moisture through osmosis, allowing the onions to soften and release their sugars more quickly for faster caramelization.
3. Deglazing the Fond
As the beef cooks, a dark layer of protein and sugars will stick to the bottom of the pan. This is called the fond. Pour in a splash of beef stock, wine, or even water to lift these concentrated flavors back into the sauce.
Pro Tip: Use a flat edged wooden spoon to scrape the pan. This technique, known as deglazing, incorporates the most intense flavors of the dish into your final sauce, ensuring no "gold" is left behind.
4. The Steam and Fluff
While the beef finishes, check your rice. Once the water has been absorbed, remove it from the heat and let it sit, covered, for five minutes.
Pro Tip: This resting period allows for moisture redistribution. The steam trapped in the pot hydrates the top layer of grains, which are often drier than the bottom, resulting in a uniform texture.
The Deep Dive:
Macro Nutrition:
A standard serving of ground beef and rice provides approximately 25 grams of protein and 35 grams of carbohydrates. It is a dense source of Vitamin B12 and Zinc. To balance the macros, always aim for a 1:1 ratio of beef to rice by volume, and supplement with fibrous greens.
Dietary Swaps:
For a Keto version, swap the rice for riced cauliflower and increase the fat content with a dollop of grass fed butter. For Vegan guests, use a soy based crumble or lentils, adding a dash of Worcestershire sauce (vegan version) to mimic the savory depth of beef. All these recipes are naturally Gluten Free as long as you use tamari instead of standard soy sauce.
The Fix-It:
- Greasy Result: If the dish feels heavy, the fat did not emulsify. Fix it by adding a tablespoon of tomato paste or a splash of vinegar to cut through the lipids.
- Mushy Rice: This happens from over agitation. Fix it by spreading the rice on a sheet pan and placing it in a low oven for five minutes to evaporate excess moisture.
- Bland Flavor: You likely missed the "salt peak." Add a squeeze of lime or lemon juice; acidity acts as a flavor magnifier, brightening the heavy notes of the beef.
Meal Prep Science:
When reheating, add a teaspoon of water per cup of rice and cover tightly. This creates a micro steam chamber, reversing the retrogradation of starch that happens in the fridge, which makes rice turn hard and brittle.
The Wrap-Up:
Mastering ingredient ground beef recipes with rice is like owning the keys to a culinary kingdom. It is efficient, cost effective, and scientifically sound. By focusing on the sear, the deglaze, and the steam, you transform humble components into a sophisticated meal. Whether you are fueling a workout or feeding a family, these techniques ensure every bite is balanced and delicious. Now, go forth and dominate that skillet!
The Kitchen Table:
How do I prevent my ground beef from boiling in its own juice?
Ensure your skillet is smoking hot before adding the meat. Cook in batches if necessary. Crowding the pan drops the temperature, causing the cells to release water before they can sear, resulting in gray, steamed protein.
What is the best rice to beef ratio for meal prep?
A 1:1 ratio by volume is standard. Use 1 cup of cooked rice for every 4 ounces of cooked beef. This provides a balanced distribution of macronutrients and ensures the rice absorbs the savory juices without becoming soggy.
Can I cook the rice and beef in the same pot?
Yes, this is a "one pot" method. Brown the beef first, remove excess fat, then add dry rice and liquid. The rice will absorb the beef's fat and collagen, leading to a much richer, more cohesive flavor profile.
Why does my rice always stick to the bottom of the pan?
You likely have too much surface starch. Always rinse your rice until the water runs clear. Additionally, once you lower the heat to a simmer, do not lift the lid; this releases the steam necessary for even cooking.