

Imagine the scent of caramelized onions and rich, rendered fat wafting through your kitchen as the sun begins to set. There is a specific kind of magic in the low and slow approach to dinner. When you master the best ground beef recipes slow cooker enthusiasts swear by, you transform humble ingredients into a five star experience.
The secret to a perfect slow cooker meal is not just about time; it is about the chemistry of the ingredients. Ground beef offers a high surface area for flavor absorption. Unlike a whole roast that relies on external seasoning, ground beef allows spices to permeate every single bite. By the time the ceramic crock finishes its cycle, the meat has undergone a total transformation. It becomes tender, succulent, and deeply integrated with whatever aromatics you have chosen to include. This is the ultimate "set it and forget it" luxury for the modern, busy gourmet who still demands high quality flavor profiles.
The Gathers:
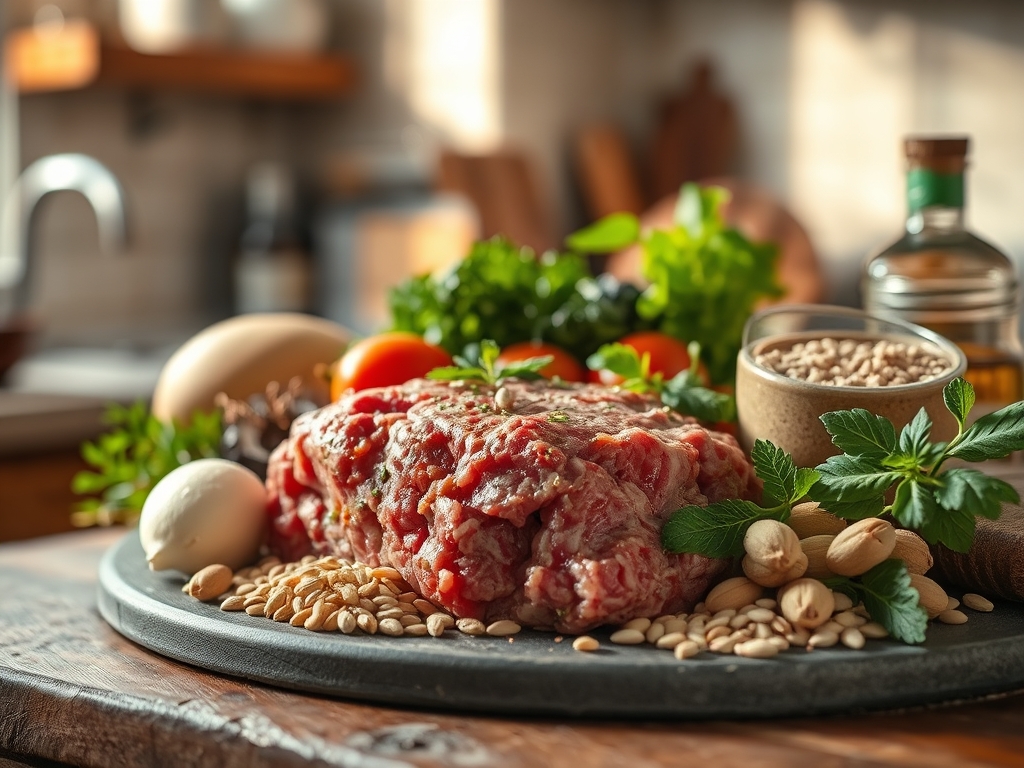
Before we flip the switch, we must respect the mise en place. High quality ground beef, ideally an 80/20 blend, provides the necessary lipids to prevent the meat from becoming dry during the extended cooking cycle. You will want your aromatics prepped: yellow onions for their high sugar content, garlic for its pungent sulfur compounds, and perhaps some bell peppers for a piquant crunch.
I recommend using a digital scale to ensure your meat to vegetable ratio is precise. Too many vegetables can release excess water, leading to a thin, watery sauce rather than a viscous, rich gravy. Grab your microplane for grating fresh ginger or hard cheeses later. For the liquid base, think in terms of depth. Beef bone broth provides collagen that thickens the sauce naturally, while a splash of Worcestershire sauce adds that essential umami kick.
Smart Substitutions:
If you are looking to lighten the load, ground turkey or chicken can stand in for beef, though you may need to add a teaspoon of olive oil to compensate for the lower fat content. For a deeper, earthier profile, swap half the beef for finely chopped cremini mushrooms. This "blended" approach increases the moisture retention and adds a sophisticated forest floor note to your dish.
The Clock: Timing Your Masterpiece
The "Chef's Flow" is all about managing your most precious resource: time. Prep usually takes about 20 minutes of active labor. This includes the essential step of browning the meat in a heavy-bottomed skillet before it ever touches the slow cooker.
Cooking times generally fall into two categories: Low for 6 to 8 hours, or High for 3 to 4 hours. I always advocate for the Low setting. The lower temperature prevents the proteins in the beef from seizing up and becoming rubbery. Instead, the connective tissues break down slowly, creating a velvety mouthfeel that simply cannot be rushed. If you are prepping for a 6:00 PM dinner, aim to have your cooker humming by 10:00 AM.
The Masterclass:
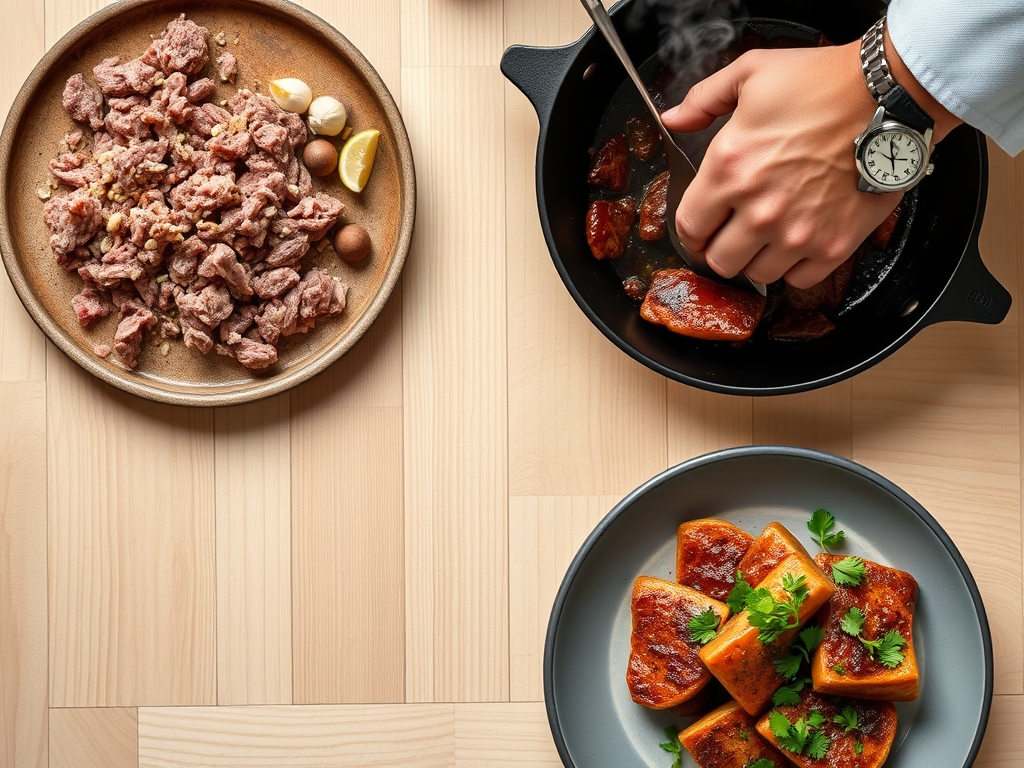
1. The Maillard Pre-Sear
Do not put raw ground beef directly into the slow cooker. Use a heavy-bottomed skillet to brown the beef in batches. You are looking for a deep, mahogany crust on the edges of the meat.
Pro Tip: This process is called the Maillard reaction. It is a chemical reaction between amino acids and reducing sugars that creates hundreds of different flavor compounds. Skipping this step means missing out on the savory complexity that defines a great beef dish.
2. Deglaze the Pan
Once the beef is browned, remove it with a slotted spoon. Pour a small amount of wine or broth into the hot skillet and use a wooden spatula to scrape up the brown bits (the fond).
Pro Tip: Deglazing captures the concentrated flavor stuck to the pan. These bits are packed with "umami," the fifth taste, which provides a savory depth that salt alone cannot achieve.
3. Layer the Aromatics
Place your hard vegetables like carrots and onions at the bottom of the slow cooker. These require the most direct heat from the heating element located in the base of the unit.
Pro Tip: This creates a "flavor bed" that allows the beef to sit slightly above the direct heat, preventing the meat from scorching while the vegetables soften and release their natural sugars.
4. The Liquid Balance
Add your liquids, but be conservative. Unlike stovetop cooking, there is very little evaporation in a slow cooker. The lid traps all moisture, creating a self-basting environment.
Pro Tip: Use a saucier to pre-mix your liquids and spices before pouring them over the beef. This ensures an even distribution of flavor and prevents "spice pockets" from forming in the corners of the crock.
5. The Low and Slow Simmer
Set your device to the Low setting. Avoid the temptation to lift the lid. Every time you peek, you release a significant amount of heat and steam, which can add 20 minutes to your total cook time.
Pro Tip: Maintaining a constant temperature allows for enzymatic tenderization. The natural enzymes in the meat work most efficiently just before the temperature reaches a simmer, helping to soften the muscle fibers.
6. The Final Emulsification
In the final 30 minutes, check the consistency of your sauce. If it is too thin, whisk in a slurry of cornstarch and cold water, or stir in a knob of cold butter.
Pro Tip: Adding cold butter at the end is a technique called monter au beurre. The fat emulsifies into the sauce, giving it a glossy sheen and a rich, professional finish that coats the back of a spoon.
The Deep Dive: Science and Solutions
From a macro perspective, ground beef is a powerhouse of protein, zinc, and B vitamins. To keep it keto friendly, skip the starch thickeners and use heavy cream or xanthan gum. For a gluten free version, ensure your broth and Worcestershire sauce are certified GF. If you want to go vegan, high quality plant based crumbles work surprisingly well, though you should reduce the cook time by half as they do not have the same connective tissue to break down.
The Fix-It: Troubleshooting Your Beef
- Too Greasy: If a layer of yellow fat is floating on top, use a bread slice or a fat separator to gently lift it away. Next time, try browning and draining the beef more thoroughly before adding it to the crock.
- Too Bland: This is usually a lack of acidity. Stir in a teaspoon of apple cider vinegar or a squeeze of fresh lemon juice. Acidity "brightens" the heavy fats and makes the flavors pop.
- Too Thin: If your chili or stew looks like soup, remove the lid for the last hour of cooking. This allows for evaporation, concentrating the flavors and thickening the liquid naturally.
Meal Prep Mastery:
Ground beef dishes actually taste better on day two. This is because the flavor molecules continue to migrate and "marry" even after the heat is off. When reheating, do it gently on the stovetop. Adding a tablespoon of water or broth will help rehydrate the proteins without making them tough.
The Wrap-Up
Mastering the best ground beef recipes slow cooker style is about more than just convenience; it is about reclaiming your evening. By understanding the science of the Maillard reaction and the importance of thermal consistency, you have graduated from a casual cook to a kitchen scientist. Now, go grab your tongs, fire up that slow cooker, and prepare for a meal that will have your friends begging for the recipe.
The Kitchen Table
Can I put frozen ground beef in a slow cooker?
No, you should never put frozen meat in a slow cooker. The meat stays in the "danger zone" for bacterial growth too long. Always thaw your beef completely in the refrigerator before browning and slow cooking.
How do I prevent ground beef from clumping?
Use a meat masher or a stiff whisk during the browning phase in your skillet. Breaking the meat into small, uniform crumbles before adding it to the slow cooker ensures a consistent texture throughout the entire dish.
Why is my slow cooker beef tough?
Toughness usually results from using the "High" setting for too long. High heat causes muscle fibers to contract and squeeze out moisture. For the most tender results, always use the "Low" setting to allow for gradual protein breakdown.
Can I overcook ground beef in a slow cooker?
Yes, while it is difficult, meat can eventually become mushy and lose its structural integrity if left for over 10 hours. Stick to the 6 to 8 hour window on the Low setting for the best texture and flavor.