
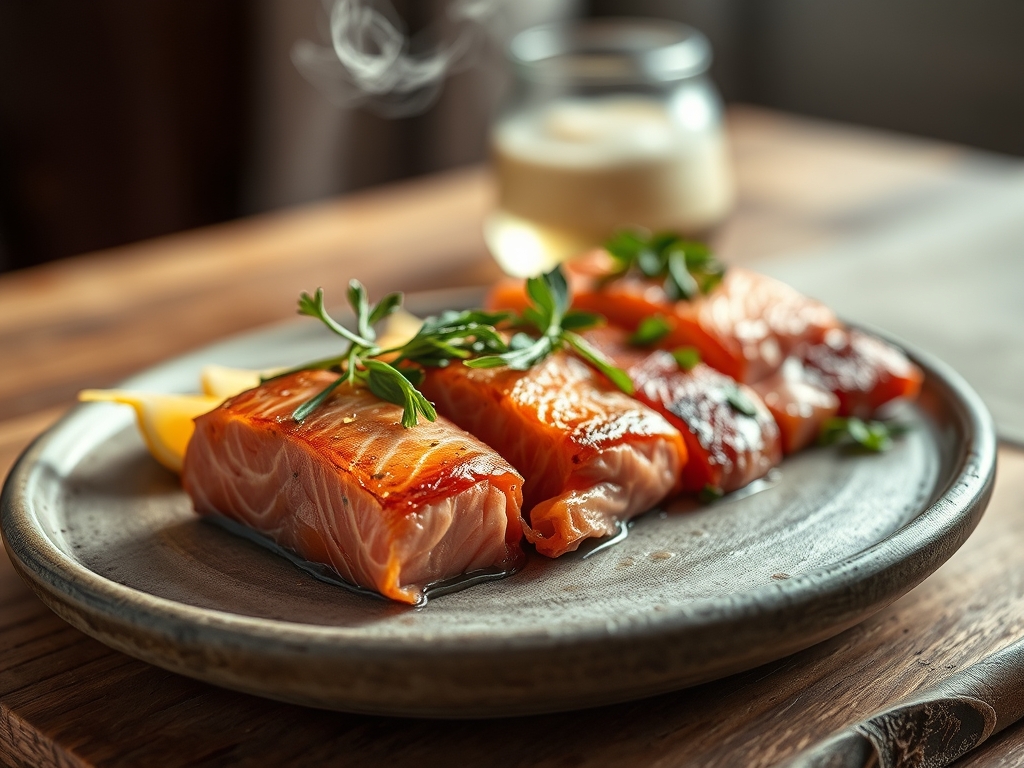
Imagine a slice of fish so succulent it mimics the texture of velvet, yet carries the piquant, peppery punch of a New York deli classic. Mastering pastrami salmon recipes is about more than just seasoning; it is an exercise in culinary alchemy that transforms raw fillets into smoky, spice-crusted masterpieces through the magic of osmotic dehydration and aromatic infusion.
The secret lies in the marriage of fatty Atlantic salmon and a traditional dry cure. When you take that first bite, you are experiencing the structural breakdown of proteins alongside the bright, resinous notes of toasted coriander and black peppercorns. It is a sophisticated, brunch-ready protein that commands respect on any bagel platter. Whether you are aiming for a cold-cured gravlax style or a slow-roasted hot-smoked version, the chemistry remains the same. We are chasing that perfect balance of salt, sugar, and smoke. Let us dive into the mechanics of how to achieve that signature deep mahogany crust and translucent, buttery interior right in your own kitchen.
The Gathers:
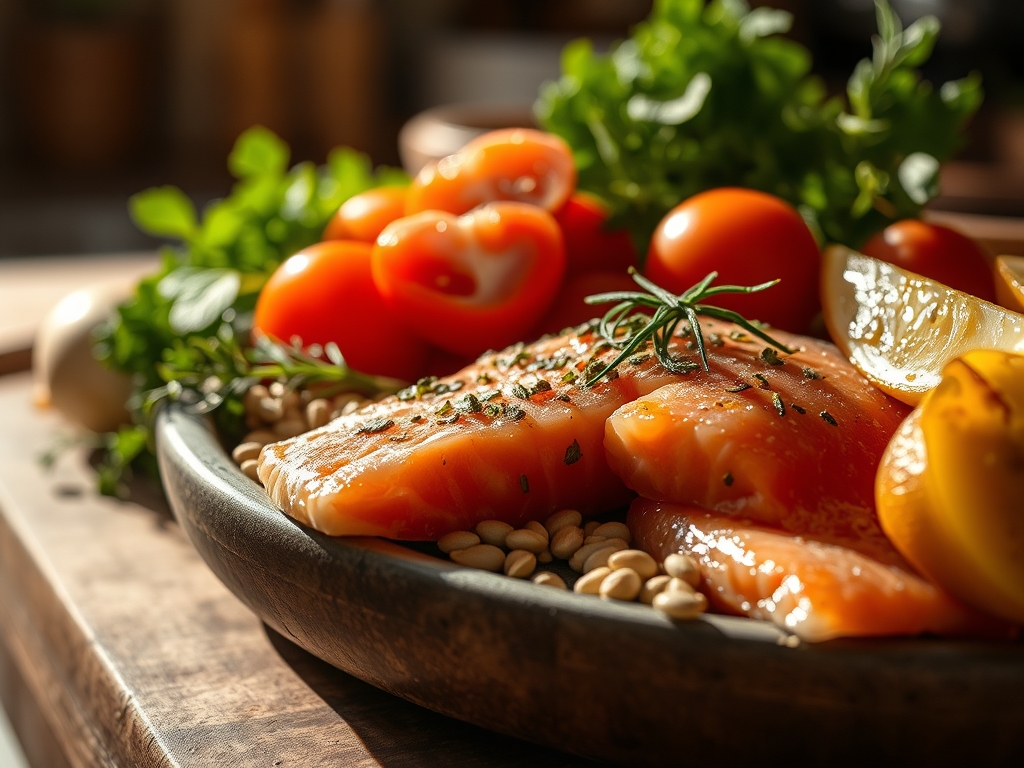
To begin your journey into pastrami salmon recipes, you must assemble a mise-en-place that respects the delicate nature of the fish. Start with a side of center-cut salmon, preferably skin-on to maintain structural integrity during the curing process. You will need a digital scale to measure your dry cure precisely; consistency is the hallmark of a professional kitchen. The cure consists of kosher salt, dark brown sugar for its viscous molasses content, and a heavy dose of toasted, cracked spices.
Your spice cabinet must yield whole coriander seeds, black peppercorns, yellow mustard seeds, and smoked paprika. Use a heavy-bottomed skillet to toast these spices until they become fragrant and release their volatile oils. Once toasted, a mortar and pestle or a spice grinder will help you achieve a coarse, pebbly texture. For the "Smart Substitutions," if you find yourself without dark brown sugar, use granulated sugar mixed with a teaspoon of molasses to mimic that deep flavor profile. If you are avoiding refined sugar, coconut sugar offers a similar caramel-like depth without the glycemic spike. For a piquant kick, a microplane can be used to zest fresh horseradish into the cure, adding a sharp, nasal-clearing brightness that cuts through the fatty acids of the fish.
The Clock
Efficiency in the kitchen is governed by what I call the "Chef's Flow." For pastrami salmon recipes, the active prep time is remarkably low, roughly 30 minutes of focused effort. However, the passive time is where the transformation occurs. You will need a 24 to 48-hour window for the cure to penetrate the dense muscle fibers of the salmon. This is not a process you can rush; the salt requires time to draw out moisture and tighten the flesh.
If you are opting for the hot-smoked or slow-roasted method, the cooking phase takes about 45 to 60 minutes at a low temperature of 225 degrees Fahrenheit. Following the heat application, a mandatory resting period of 20 minutes is essential. This allows the internal juices to redistribute, ensuring that when you use your bench scraper or sharp slicing knife, the fish does not flake apart prematurely. Plan to start your cure on a Thursday evening for a spectacular Saturday morning reveal.
The Masterclass
1. The Spice Tempering
Begin by placing your whole coriander and peppercorns into a dry heavy-bottomed skillet over medium heat. Agitate the pan constantly until the spices smell toasted and nutty. This process, known as the Maillard reaction for aromatics, unlocks complex flavor compounds that stay dormant in raw spices.
Pro Tip: Toasting spices triggers the release of essential oils. This increases the surface area of flavor molecules, ensuring a more intense infusion during the curing stage.
2. The Osmotic Cure Application
Mix your salt, sugar, and toasted spices in a bowl. Lay your salmon on a parchment-lined sheet tray and coat it aggressively with the mixture. Ensure every millimeter of the flesh is covered. The salt works via osmosis, drawing water out of the cells to create a concentrated, firm texture.
Pro Tip: Salt denatures the proteins in the fish. This creates a tighter molecular mesh that prevents the salmon from feeling "mushy" after it is sliced.
3. The Weighted Compression
Wrap the salmon tightly in plastic wrap and place another sheet tray on top. Weight it down with heavy cans or a cast iron press. This physical pressure aids the cure in penetrating the thickest parts of the fillet and ensures a uniform shape.
Pro Tip: Compression forces the brine into the connective tissues. This results in a denser, more "meat-like" mouthfeel characteristic of traditional beef pastrami.
4. The Pellicle Formation
After curing for 24 hours, rinse the salmon under cold water to remove excess salt and pat it bone-dry. Place it on a wire rack in the refrigerator, uncovered, for at least 4 hours. This allows a "pellicle" to form, which is a thin, tacky layer on the surface of the fish.
Pro Tip: A well-developed pellicle is crucial for smoke adhesion. Without this sticky surface, the smoky flavor and the final spice crust will not bond to the fish.
5. The Secondary Spice Rub
Once the pellicle has formed, apply a second layer of spices, including the smoked paprika and mustard seeds. Use your hands to press the spices into the tacky surface. This creates the iconic "bark" seen in professional pastrami salmon recipes.
Pro Tip: This second layer provides the visual aesthetic and the initial flavor "hit." Since the fish is already cured, these spices remain bright and piquant.
6. The Low and Slow Render
If you are cooking the fish, place it in a low oven or smoker at 225 degrees Fahrenheit. Use a digital thermometer to monitor the internal temperature. You are looking for an internal temp of 125 degrees Fahrenheit for a medium-rare, buttery finish.
Pro Tip: Low temperatures prevent the albumin (that white protein liquid) from leaching out. Slow heat keeps the fats viscous and integrated within the muscle fibers.
7. The Thermal Rest
Remove the salmon from the heat and let it sit at room temperature for 20 minutes before refrigerating. This prevents thermal shock and allows the proteins to relax after the heat application.
Pro Tip: Thermal carryover will continue to cook the fish by 3 to 5 degrees after it leaves the oven. Pulling it early ensures it stays succulent rather than dry.
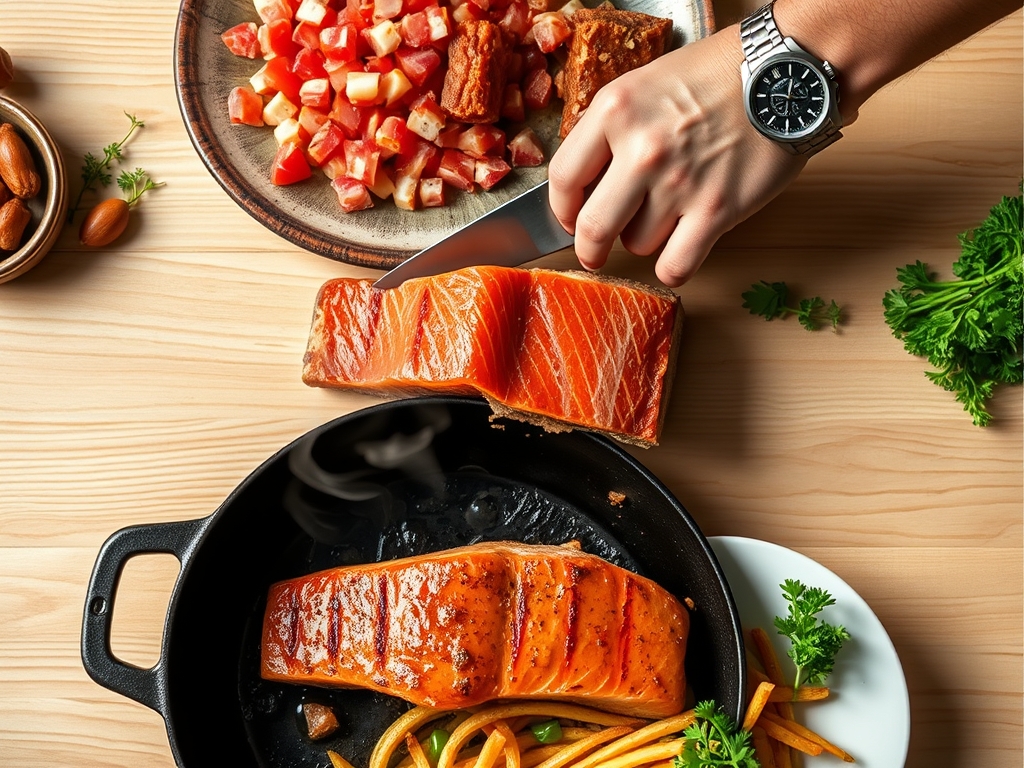
8. The Precision Slice
Use a long, thin slicing knife or a saucier spoon to guide your hand. Slice against the grain in paper-thin bias cuts. The thinner the slice, the more the fat melts on the tongue, mimicking the experience of high-end deli meat.
Pro Tip: Slicing against the grain breaks up the long muscle fibers. This makes the fish feel more tender and allows the spice crust to be distributed evenly in every bite.
9. The Final Aeration
Before serving, let the sliced salmon sit at room temperature for 5 minutes. This allows the fats to aerate and soften, which significantly enhances the flavor perception on the palate.
Pro Tip: Cold fats mute flavor. Allowing the salmon to lose its refrigerator chill ensures the complex smoky and peppery notes are fully expressive.
The Deep Dive
From a nutritional standpoint, pastrami salmon recipes are powerhouses of Omega-3 fatty acids and high-quality protein. A standard 3.5-ounce serving provides roughly 20 grams of protein and is naturally low in carbohydrates, making it a staple for Keto and Paleo enthusiasts. For those following a Vegan lifestyle, you can apply this exact spice rub and curing technique to thick slabs of roasted golden beets or carrots; the sugar and salt cure will transform the vegetable textures into something remarkably similar to cured fish.
If you encounter "The Fix-It" scenarios, do not panic. If your fish is too salty, soak the cured fillet in cold water for 30 minutes before the pellicle stage to leach out excess sodium. If the spice crust is falling off, you likely skipped the pellicle-drying phase; simply brush the fish with a tiny amount of honey or maple syrup to act as a food-grade glue for the spices. If the salmon feels dry, you likely overcooked it; fix this by drizzling the slices with a high-quality olive oil to restore moisture and mouthfeel. For meal prep, store your salmon in an airtight container with a piece of parchment between layers. When reheating hot-smoked versions, use a gentle steam or a very low oven to avoid "breaking" the fats and turning the fish oily.
The Wrap-Up
You are now officially equipped to conquer the world of pastrami salmon recipes! By understanding the science of salt-curing and the importance of the pellicle, you have transitioned from a home cook to a culinary stylist. This dish is a showstopper because it combines technical precision with bold, nostalgic flavors. Remember to trust your digital scale, toast your spices until they sing, and always give your fish the time it needs to transform. Now, go grab that side of salmon and start curing; your next brunch is about to become legendary!
The Kitchen Table
Can I use frozen salmon for this recipe?
Yes, but ensure it is completely thawed and patted dry. Previously frozen salmon may release more moisture during the cure, so you might need to drain the tray more frequently to maintain the proper texture.
How long does homemade pastrami salmon last?
When stored in an airtight container in the coldest part of your refrigerator, it will stay fresh for 5 to 7 days. For the best flavor profile, consume it within the first 3 days of finishing the process.
What is the best wood for smoking this salmon?
Light, fruity woods like apple, cherry, or alder are ideal. Avoid heavy woods like hickory or mesquite, as they can overwhelm the delicate fats of the salmon and mask the intricate spice blend of the pastrami rub.
Do I have to use sugar in the cure?
Sugar is essential for balancing the salt and aiding in moisture retention. If you must skip it, the fish will be significantly saltier and the texture will be firmer and less "silky" on the tongue.
Is the skin necessary during the curing process?
Keeping the skin on acts as a protective barrier and helps the fillet hold its shape. It also makes it much easier to slice thin pieces away from the base once the salmon is fully cured and chilled.